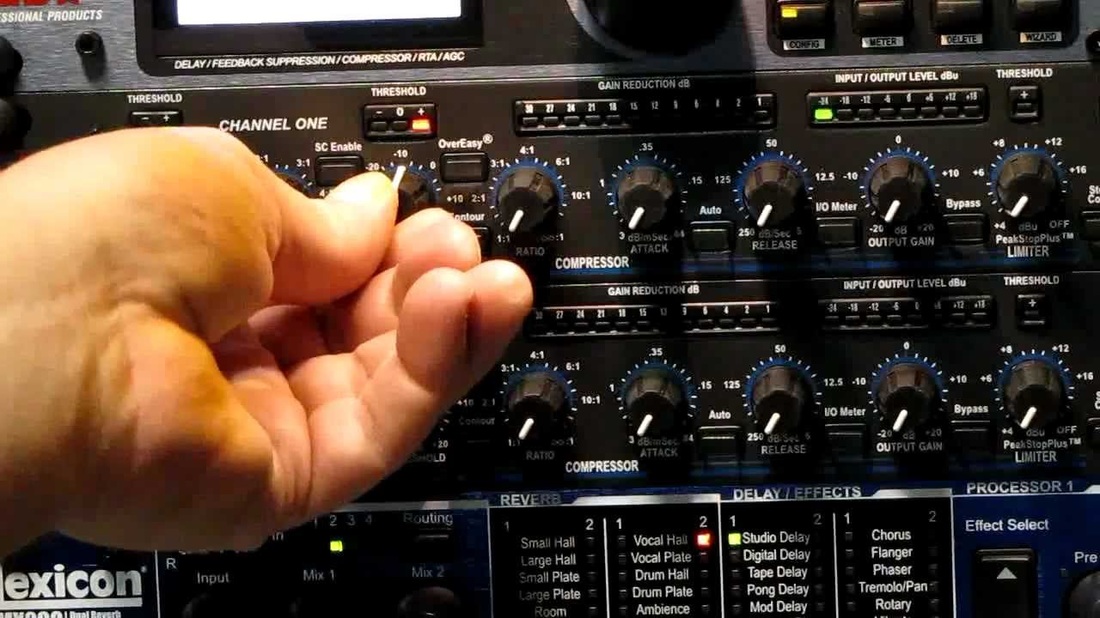
 "Let's see what this thingy will do..." 1. I love to compress an instrument on the way in when I record. This makes sure that I'm not clipping when I crank my microphone preamp to the absolute highest level right before it clips. I loooove not having any headroom in the digital realm. It's awesome. 2. Then, once I record the track, I'll insert a compressor on the instrument's channel. Actually, I'll do this for everything I mix! I like to make everything as huge and "punchy" sounding as possible so that it won't fit in the mix with everything else huge and "punchy!" 3. Then, I'll send that track to a sub-bus and use a compressor there too - you know, just to make sure there are no dynamics at all (cause that would be bad). 4. And theeeennnn, I'll send that to the main out where all of those instruments have been compressed as well - because hey, compression is the coooolest, and I might as well put a limiter on the main insert out so that I can get it as loud as possible for the mastering engineer. That mastering engineer is gonna LOVE ME for this! 5. Then, I'll bring that to a mastering engineer where he'll put a limiter on my music - or if I'm lucky enough, he'll put TWO for maximum loudness! That's when I'll say phrases like, "PUNCHY" & "WARM." "HEY BRO, CAN YOU MAKE IT MORE PUNCHY?" "HEY BRO, CAN YOU MAKE IT MORE WARM?" "HEY BRO, WHY DON'T YOU HAVE ONE OF THEM THERE BBE SONIC 'MAXIMILLIANS' CAUSE THOSE THANGS ARE AWWWWESOMMME!" "HEY DUDE, CAN YOU MAKE IT AS LOUD AS THIS HERE METAL ALBUM. YOU KNOW THE ONE WHERE THE LEAD SINGER GROWLS WORDS LIKE 'RAH,' AND 'YEAAAAHHHHH' BEFORE EVERY GUITAR SOLO?" 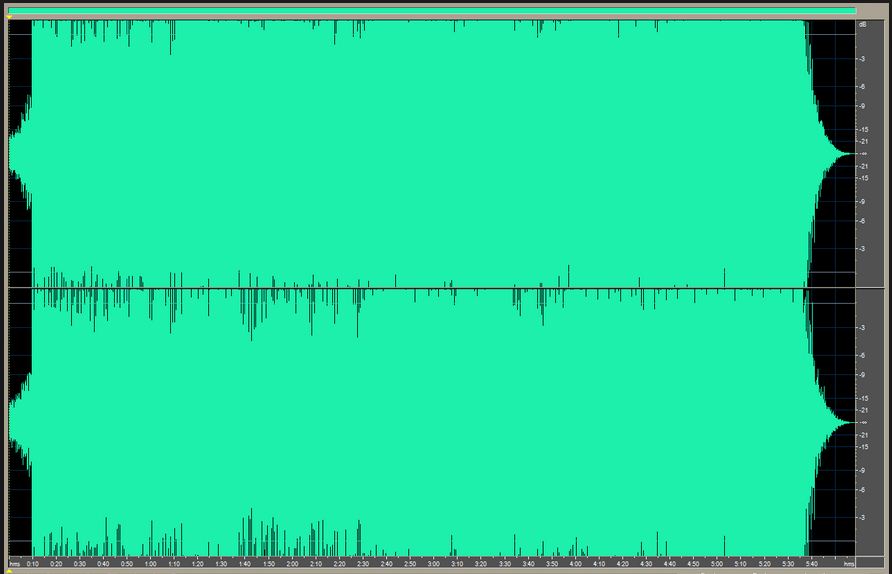 Aaaahhhhh.... That's better! 6. Then if I'm really lucky, my song will be played on the radio where they'll put a broadcast compressor/limiter on it. Ah, niiiiice and squishy. Wow, that part of the song where it just breaks down to my voice and an acoustic guitar is just as loud as when the full band comes back in! AWESOOOME!!! So, How Did We Get To This Point? Once upon a long time ago ( 1980's & 90's - Ha! ), there was this little fella named Mr. Volume Knob. Everybody loved him. He knew this because they'd use terms like: "Crank It Up, Duuuuude!" "Turn It Up to 11 Maaaan!" This was his time to shine. He was the coolest dude at the party. People loved him in their cars. People adored him in their living rooms on their Fisher stereos. Cool kids with kangaroo shoes, tight-rolled pants, and jackets with 40 zippers, would give him attention all the time on their Jamboxes and Walkmans.  Everything was going great until... Mr. Compressor Became Popular!!!! 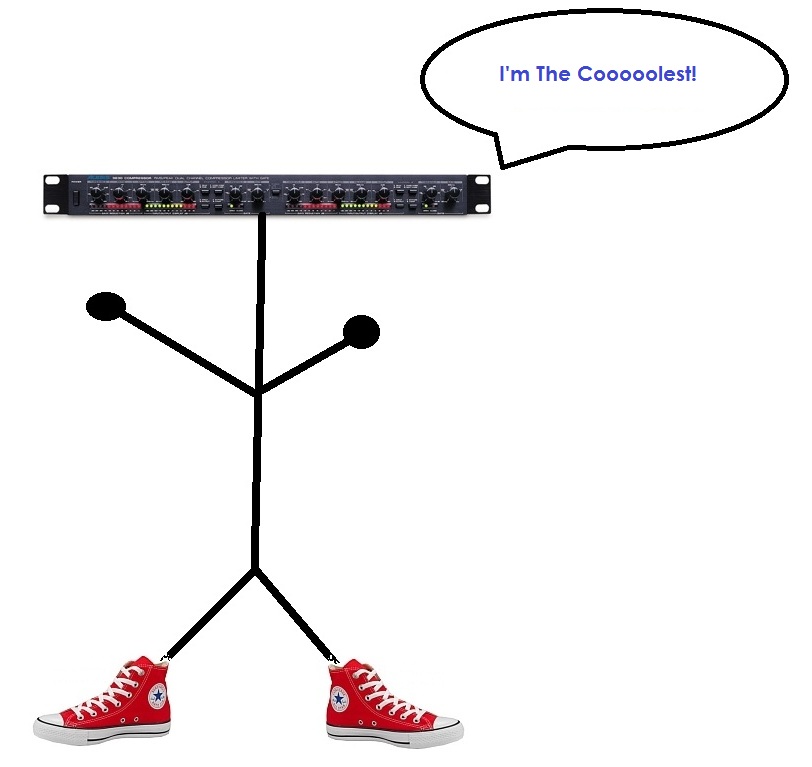 OH NOOOO! - EXCEPT HE'D BE WEARING SOME GIRBAUDS AND A COCA-COLA SHIRT! Now Mr. Volume Knob from the consumer electronics industry, hangs out at the local cafe; sipping coffee with Mr. Story Line from the movie industry (Mr. Story Line got replaced by some cool flashy dude named Mr. Special Effects, but that's a whole other story). Mr. Volume Knob would reminisce about the good ol' days where people would actually turn him above 1/4 of the way.  Rock On Dude, Rock On...
10 Comments
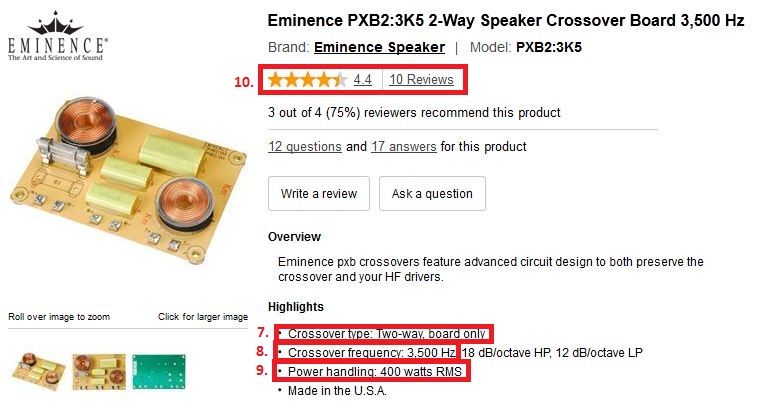
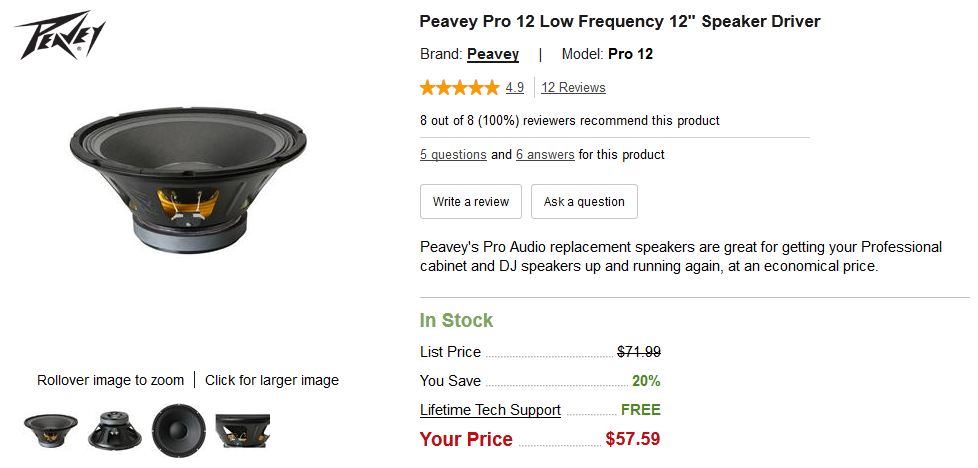
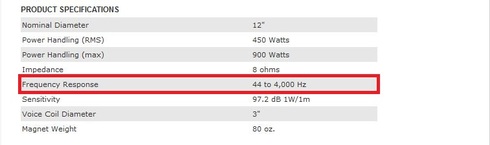
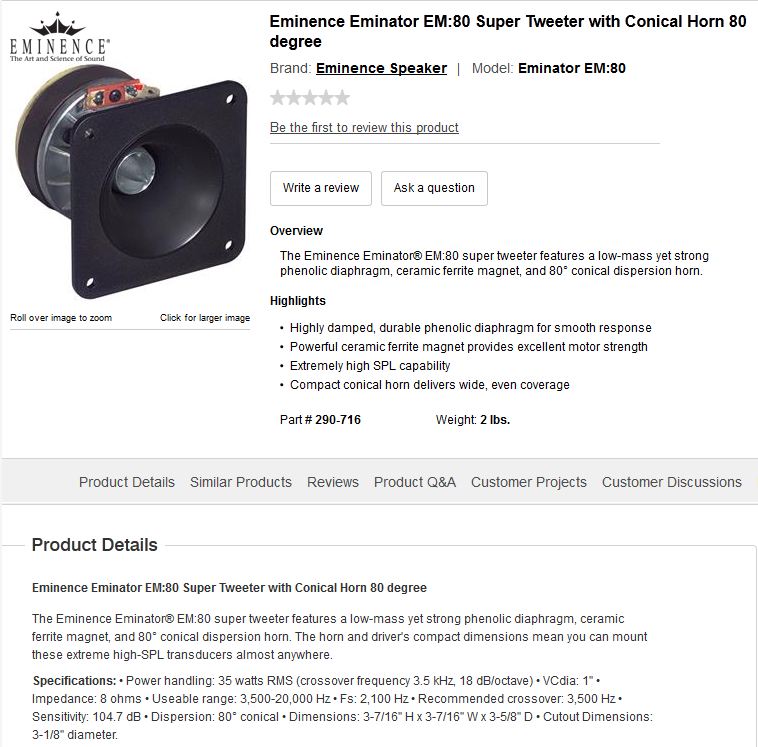
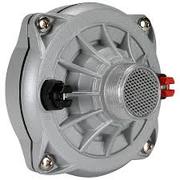
Warning - A Satirical Rant In Progress... 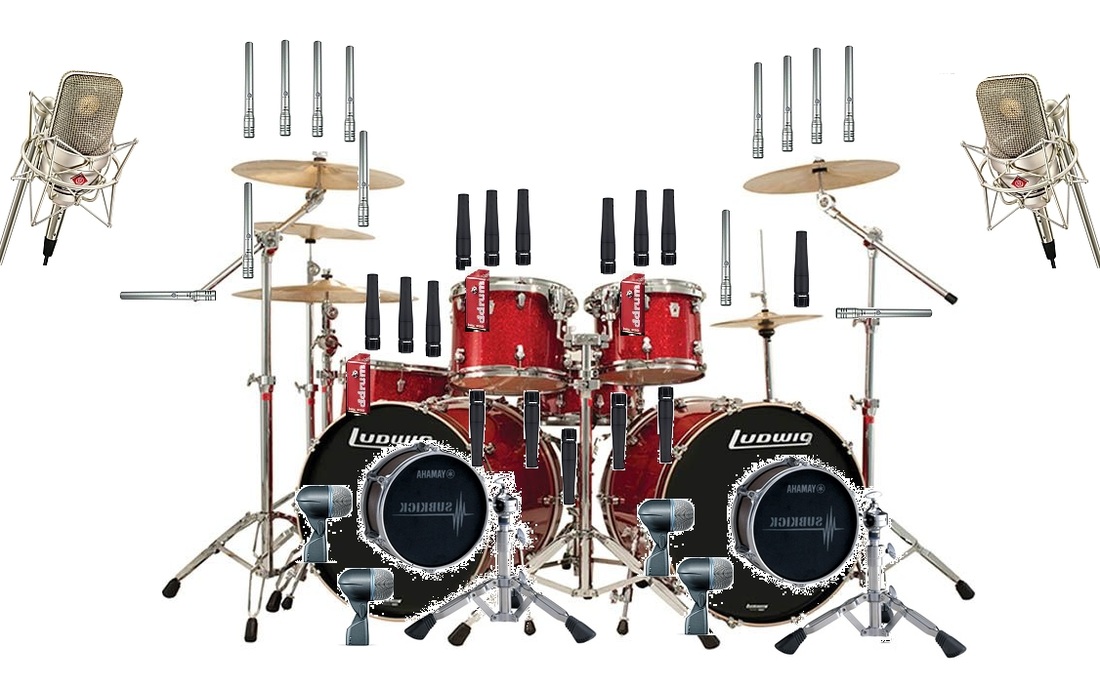 Feel The Power!!!! I JUST LOVE USING AS MANY MICROPHONES AS POSSIBLE ON A DRUMSET! THIS MAKES ME FEEL AWESOME. I'M A TOTAL ACE. THIS IS ESPECIALLY EFFECTIVE WHEN RECORDING. THEN AFTER THAT, I'M GONNA USE DRUM REPLACEMENT SOFTWARE TO REPLACE ALL THE DRUM TONES! YOU KNOW WHAT'S EVEN MORE AWESOMER THAN THAT? MAKING SURE THAT KICK DRUM IS THE BIGGEST SOUNDING INSTRUMENT IN THE SONG! THAT WAY IT DOESN'T EVEN SOUND AS IF IT'S IN THE SAME ROOM AS THE REST OF THE INSTRUMENTS! IT'S REALLY GREAT THAT WAY! KA-BOOOOM, KA-BOOO0M, KA-BOOOOOOOOOOOM! 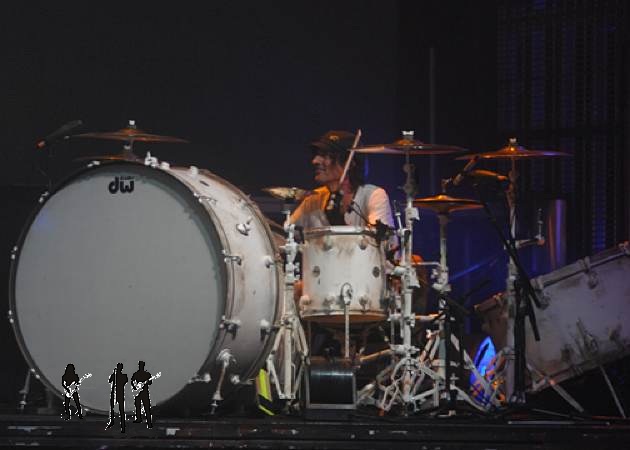 THEN WHEN FOLKS LISTEN TO MY MIXES ON THEIR BASS ENHANCED HEADPHONES WITH THE BASS ENHANCER KICKED IN, IT'LL SOUND THE COOLEST BECAUSE IT'S THE BASSIEST! AWESOME!!!! 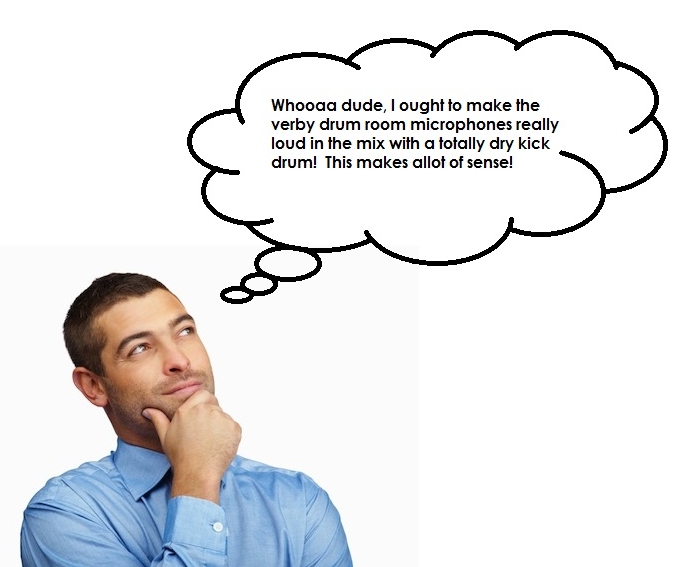 Hmmmmm. 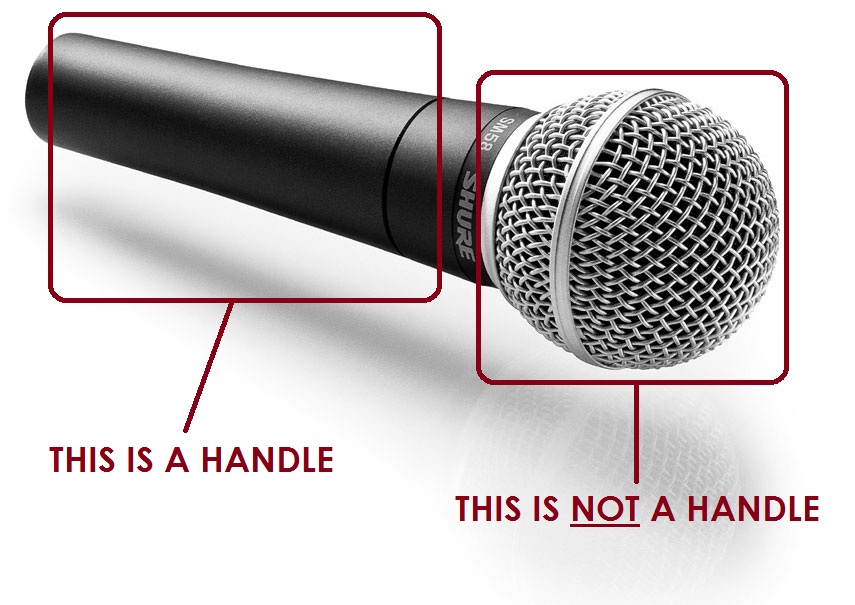 I LOVE IT WHEN MY VOICE SOUNDS TERRIBLE, AND THAT'S WHY I HOLD THE MICROPHONE ON THE WINDSCREEN! WEEEEE! MOST PERFORMERS AGREE: Making your voice sound as if it's going through a 3" speaker shooting down a 20 foot pipe is the coolest sound ever! we should all take a lesson from sandi patty & this mullet man:  Ah, That's Better! 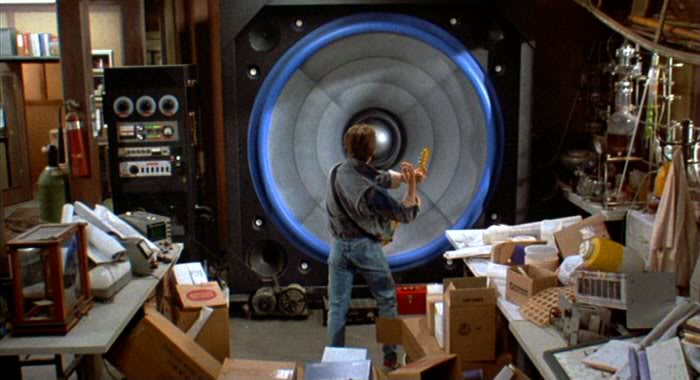 So you are in the position that you really need to upgrade your speakers, but have very little money. Buying something brand new is out of the question, but you have to do something because your speakers are blown, or perhaps they sound really awful. There is an inexpensive way to handle this situation and will greatly improve the sound of your system! About 6 months ago I was working with a smaller church in Louisiana. Their youth department had a pair of Peavey speakers that were over 30 years old. Not all 30 year old speakers sound terrible, but these REALLY did. They were beyond terrible. My task was to upgrade their mains in their youth room for an insanely low budget. I know their situation. Their budget isn't going to increase anytime soon. So, I took what they had, and let them borrow some old JBL's in the mean time. 1. The speaker cabinet had a model number on it. I called Peavey just for curiosity sake, and they told me that it was so old, that they didn't even have any information on that model anymore! 2. The cabinet featured a 12" speaker with a tiny magnet, and a super cheap piezo tweeter. No crossover of course. Just an old capacitor. 3. I did some measurements on the cabinet to see the internal dimensions to get a close number on the volume of the cabinet, and the internal clearance to see what I could do in way of a new woofer & tweeter. 4. From there, I contacted a company called Parts Express. These guys offer great replacement speakers for very fair prices. They can be found at www.parts-express.com - And no, I am not affiliated with them. They just have really good customer service, and I have been a satisfied customer of theirs for years. 5. Their youth department at that church runs an all-in-one mixer-amplifier, and I knew that their particular model didn't support under 4 ohms on each output channel. So from there, I knew the total ohm load I would have to work with in re-building their speakers. Remember, if you combine two 8 ohm speakers on one output, the combined ohm load is 4 ohms! That's right, not 16, but 4! If you combine two 16 ohm speakers on one output, the amplifier will then see 8 ohms! Keep this in mind when building or rebuilding new speakers. 6. I then chose a decently priced crossover (also available at parts express). A crossover separates treble from bass so that bass doesn't go to the tweeter, and treble doesn't go to the woofer. With that said, tweeters and woofers have what they call a frequency response. So, you have to match the woofer and tweeter to where they will work together with the crossover. You want to try and choose a woofer that extends up to (frequency wise), where the tweeter picks up at. Also, make sure you get a crossover that can handle the amount of wattage your amplifier provides. Needs are diverse, so don't go out and buy this exact one, but this is just an example of the type of components to look for:
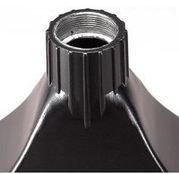
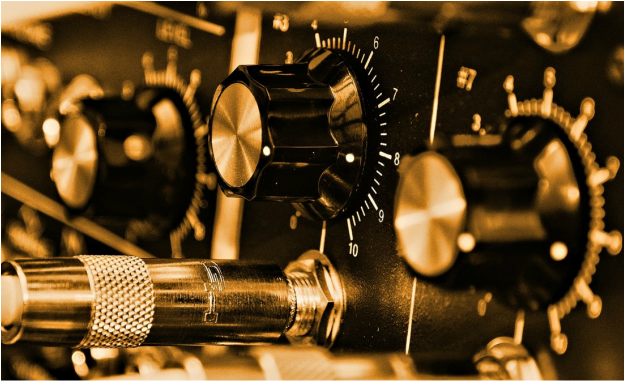 Cool gear pic so that you'll read this article. Ha! For Part 2 of this series, we are going to be exploring cool gear hacks and workarounds to get you rolling on a low budget. In this series as a whole, we will be discussing everything from DIY electronic builds, to great inexpensive products you may not have heard of before. With that said, let's get rolling with our first project: DIY ELECTRIC GUITAR BUFFER/LINE DRIVER/BOOST If you run an electric guitar amplifier in a remote & isolated location several feet from your guitar amplifier, this buffer/linedriver is a killer solution for curing any capacitance issues you may have with your rig - thus preserving your tone. As many of you already know, the longer the 1/4" run, the more capacitance in your guitar's signal chain, and the duller the tone. This circuit cures this issue, and has no negative effects. This ultra-simple circuit sounds so good, you'll want to leave it on all of the time. I have compared it against some of the most well known manufactured devices, and it is easily the best. Notice that I use an LM386 IC. Yes, this chip was originally developed by Texas Instruments as a 1/2 watt amplifier, but with a little know-how, and leaving out certain parts of the circuit, it makes a killer transparent boost. 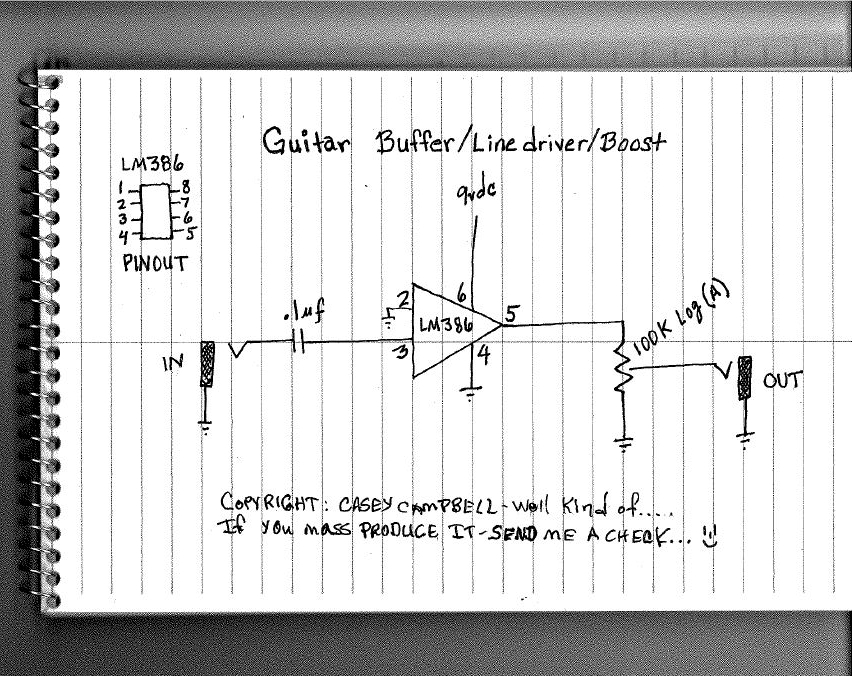 The .1uf capacitor can be a cheap ceramic cap. Don't worry, your guitar won't know the difference, and neither will anyone else. The output volume control, is a 1/2 watt 100k Audio Taper potentiometer. Set the output volume of the circuit to where the tone is boosted just a hair, and this is where this buffer/linedriver is operating at its optimum level. Too much boost (which this circuit can easily do), and you'll overdrive the input of your guitar amplifier (some folks like this). Add a 3PDT stomp switch to make this a boost. If you need an enclosure, I recommend Small Bear or Pedal Parts Plus. The total project cost is not more than $20. Super cheap & super easy to build with extraordinary results. 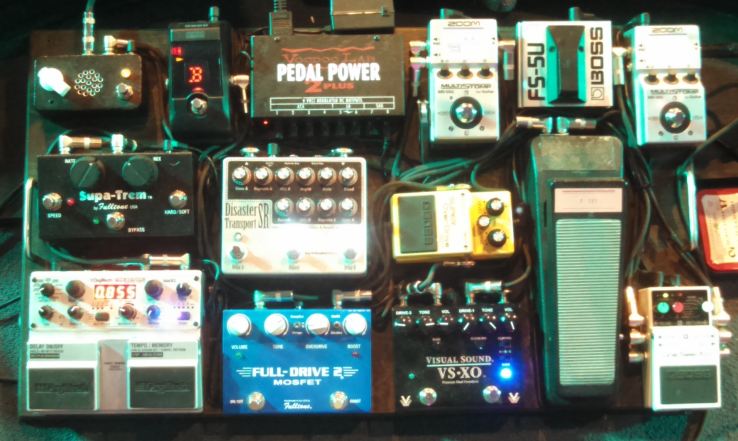 My personal pedalboard with the above circuit as a boost/linedriver (upper left-hand corner). I used to be the chief designer of boutique guitar pedals from 2008-2011 of a now defunct pedal company. This pedal was my very first prototype of this type of pedal. I built it out of spare parts ( that's why it's so ugly - Lol ). When I tested it out, I noticed it imparted a certain "something" to my tone that I loved. It's stayed on my board ever since.  I almost titled this post: "What I wish I could say to every church leader." Important First Concepts:
Have a Realistic Budget I remember an occasion where I was tasked to install a complete sound system for a medium-large sized congregation. Mics, all cabling, amplifiers, speakers, mixing console, outboard, monitoring, etc. Everything. When I asked the leadership what their budget was, I got the reply - "Will $1,200 do it?" You have to have a realistic budget to get the job done. If you are building a new building, you have to factor in the sound system as part of the cost of construction. You don't have to buy expensive, but you should buy smart. Priorities "Well we wanted a really nice water garden on the property. We thought it'd attract more people to our church." But your sound system is 40 years old, your speakers are blown, half the channels on your console no longer work, and your volunteer that's running it is not for sure what the difference between a fader and a mute button is. Every Part of Your Service Goes Through Your Sound System Your worship, your message (the gospel); everything. You'll spend less money if you buy quality gear in the beginning, than if you have to keep patching and replacing cheap stuff year after year. It doesn't have to be super expensive to get the job done, but it shouldn't be the cheapest. If all you can afford right now is the cheapest, then wait. Save your money until you can afford what you truly should purchase. Buy Gear You Can Grow Into "We only need 16 inputs; how cheap can we get one of them there 16 channel mixers for?" If you are running 16 inputs from the stage, then purchase a 24 channel mixing console (at least). If you purchase the bare essentials now, what happens when you grow? You'll have to purchase the same type of item a second time. You are money ahead if you purchase gear you can grow into. Purchase it smart once, and you won't have to purchase it again. Find the Balance Between Form & Function I received a call from a pastor that had heard of me from another church I have done extensive work for. His congregation was about to move into a new building, and they hadn't purchased the audio equipment yet. When I got there, I noticed that there was no mixing console area. When I asked about where he'd want the booth, he showed me to a separate room (with a door) about 8ft x 10ft totally separate from the sanctuary. Their church had a full band (drums & all). You have to realize that the construction of today's modern church buildings have to be focused on the audio/visual element. Again, everything you do, runs through your sound system. If it's installed right, it won't be ugly, and will greatly enhance your services. You say that the gospel is important, but if your audio system sounds terrible, the listener will be distracted from hearing it. It is more important for the gospel message to be clearly and cleanly heard, than for the curtains in the Sunday school classrooms to be brand new. Hearts can be changed and touched through worship, but what if your sound system sounds terrible and is a distraction? "Oh well, at least our new plastic trees we just purchased look great on stage." There Is Nothing Wrong With Buying Used Used, B-Stock, Re-furbished Gear with a warranty, etc. - are all great ideas! Nothing wrong with buying used, and especially if you get it in good working order from a reputable dealer. I buy allot of used gear from guitar center. I haven't been burned yet, and have been super happy! I would stay away from ebay and other similar online bidding sites, unless you are absolutely sure the seller has a stellar rating, and a guarantee of some sort. Training Seriously - I know I run a live sound training site, but know that I am REALLY NOT trying to sell you anything. With that said - if whoever is behind the console has no idea what they are doing, your gear and your audience can suffer. I cannot count how many times I have been called in to a facility to replace gear because of abuse. Most of the time it's the improper use of gain structure, or lack of maintenance. You are going to end up spending money you shouldn't have to because of a lack of education & training! Stayed tuned for the next article in this series as we delve into making the best use of the gear you have on a limited budget! |