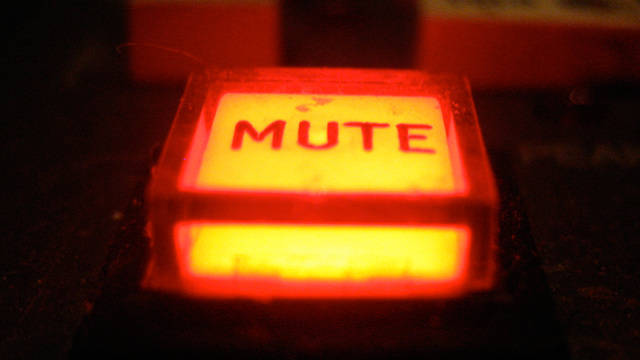
 Go ahead, make my day One of the most powerful tools in your mixing disposal, is the mute button. I have had times when the band is killing it, and then there's some dude impersonating Henry Kaiser rocking a solo that sounds something like Yoko Ono getting in a fight with a bumble bee: There are times when somebody in the band is just not paying attention and are off in La La Land, or sometimes you'll have somebody who is convinced that they should play as many notes as possible in a worship set. This can leave you in a difficult situation because you don't want to be rude and mute them, but you know what...you totally should. Go ahead. No biggie. They should learn the meaning of the term "tasteful." One of the most effective uses of the mute button, are out-of-tune background vocals. Have you ever had that situation where you have a "vocalist" that hears everything a half-step lower than the actual song?
Mute Button. How about the guy that is convinced he should try and play the new blues pentatonic scale "he just learned" throughout the entire song? Mute Button. Or the same guy that just bought an e-bow, and decides he wants to use it during the entire worship set? Mute Button. Worship Leader: "Hey guys, let's use drum loops for the first time this Sunday morning with a drummer that couldn't play to a click if their life depended on it." That sounds like an excellent idea! Mute Button. I think you may be getting the idea now. Here's a technique developed by Courtney Love's engineer he has used countless times (I'm almost sure of it): When there is something coming across the speakers that sounds like someone is torturing a possum with a cattle prod - you grab the fader and start bringing down the volume gently, but quickly...and then in one smooth act of mercy, you bring the other hand up to the console and press the Mute Button so that the audio of the offending channel doesn't cut off too suddenly. Aaaahhhh. That's better!
1 Comment
Sometimes (most of the time), a kick drum and a bass guitar will be all over one another in a mix, and it can be really difficult for you to get a degree of separation between the two where they sound distinct, and take up their own space. I have decided to include some basic tips if (when) you come upon this issue. So, let's dive right in!
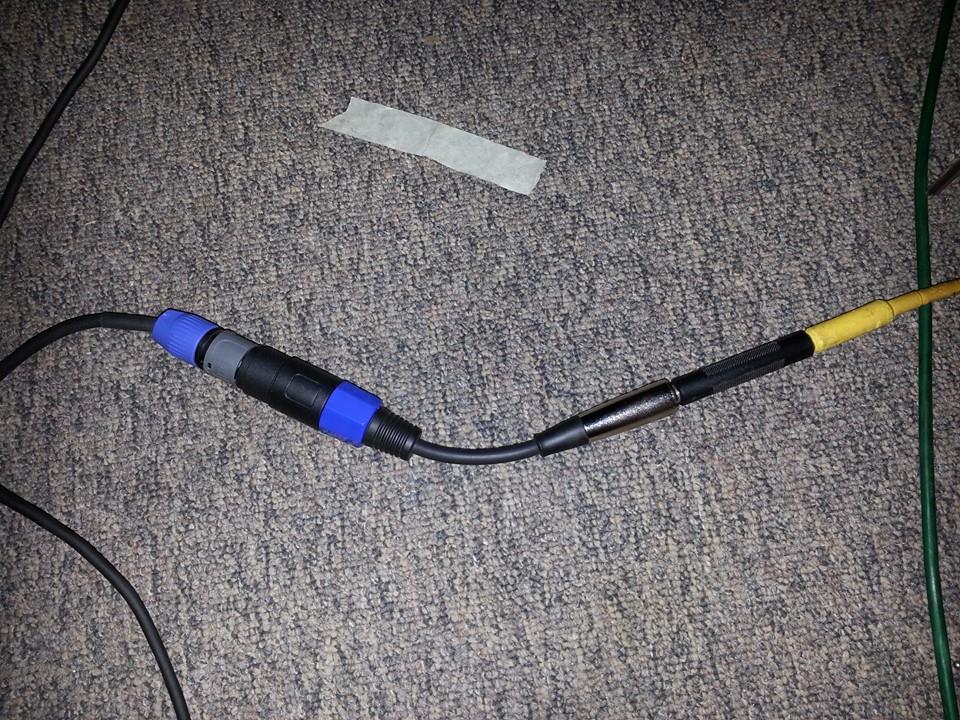
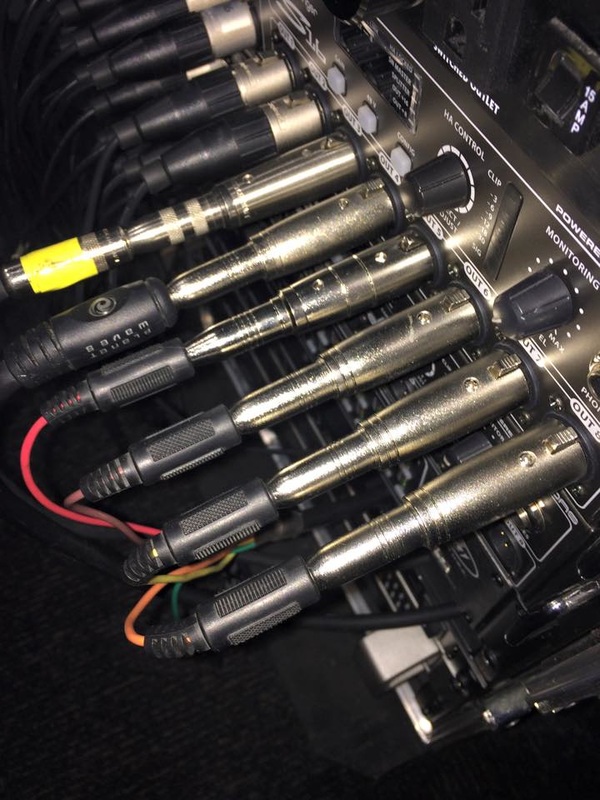
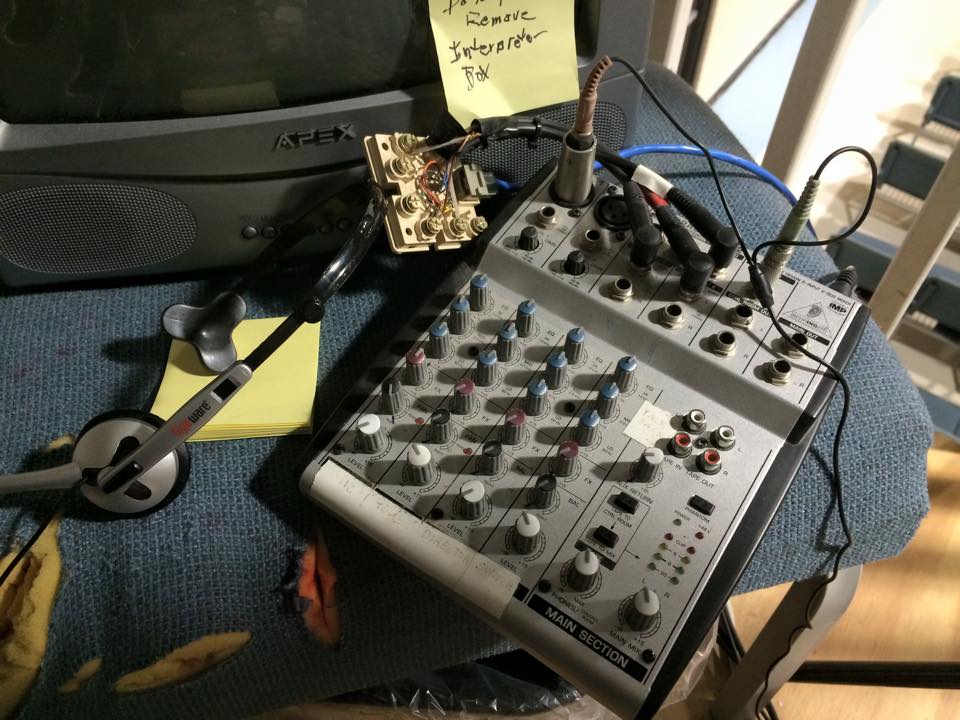
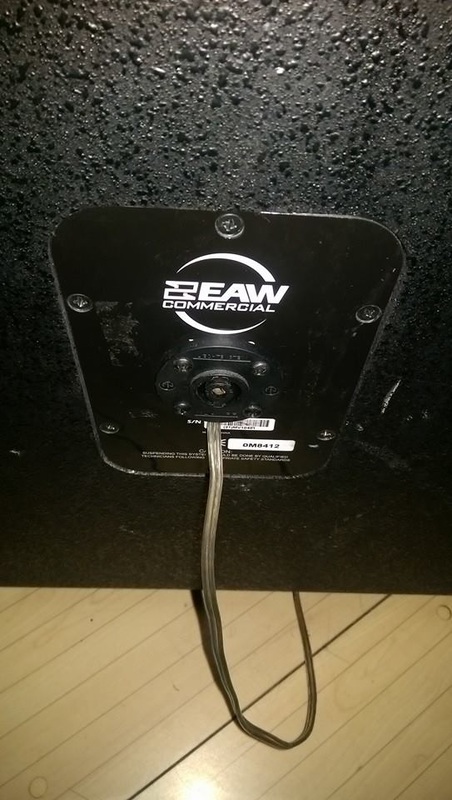
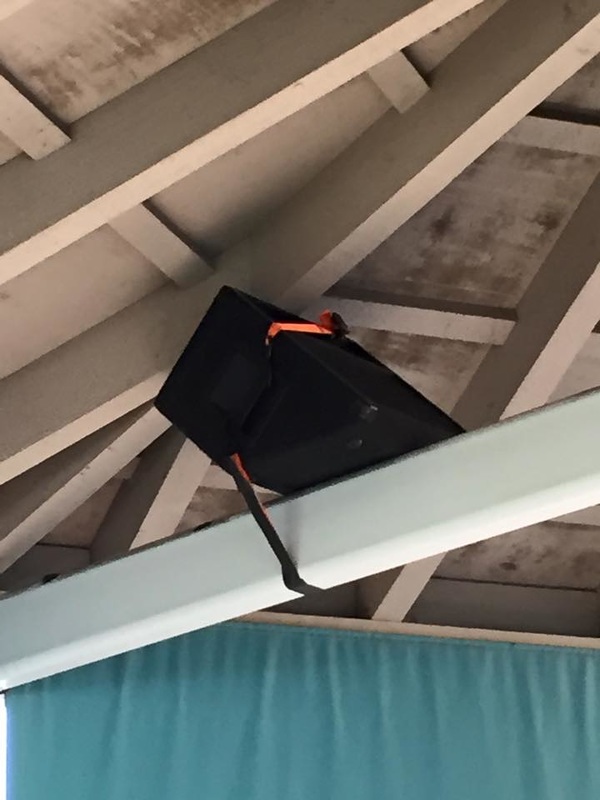
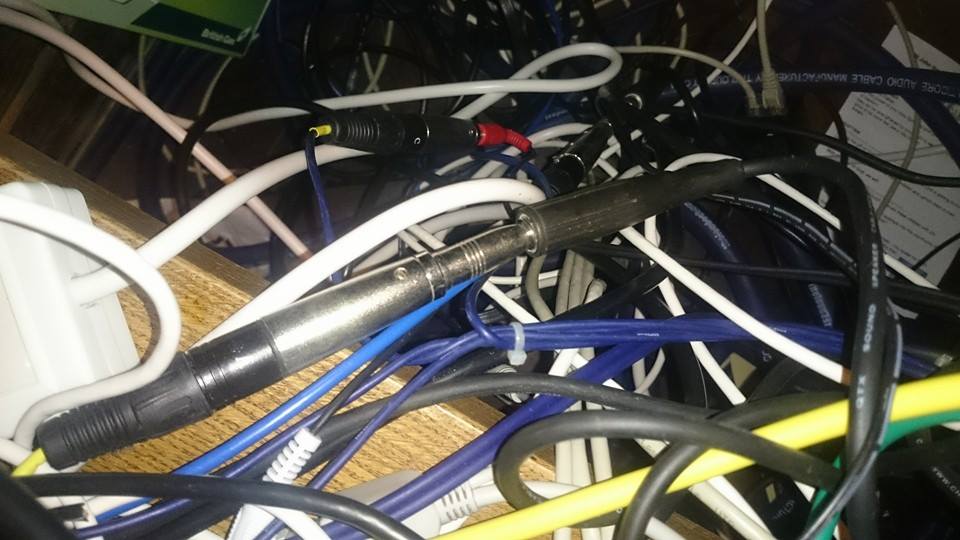
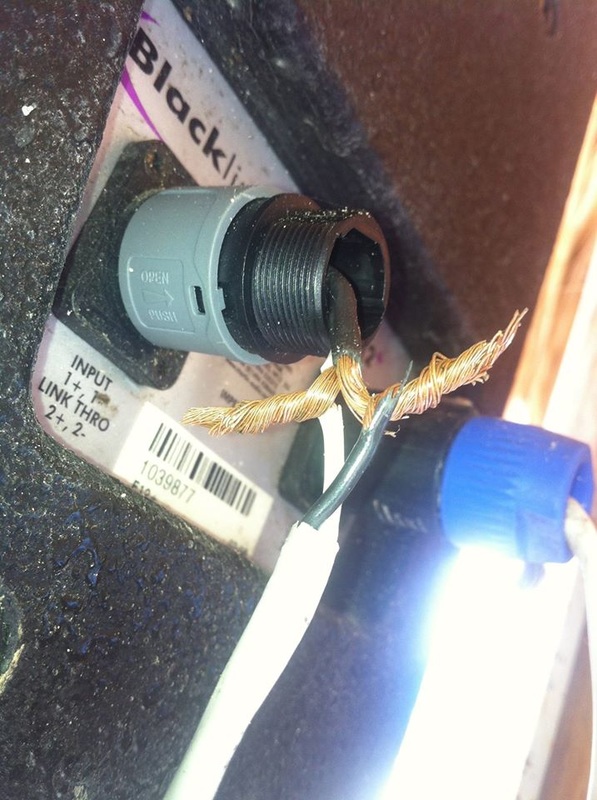
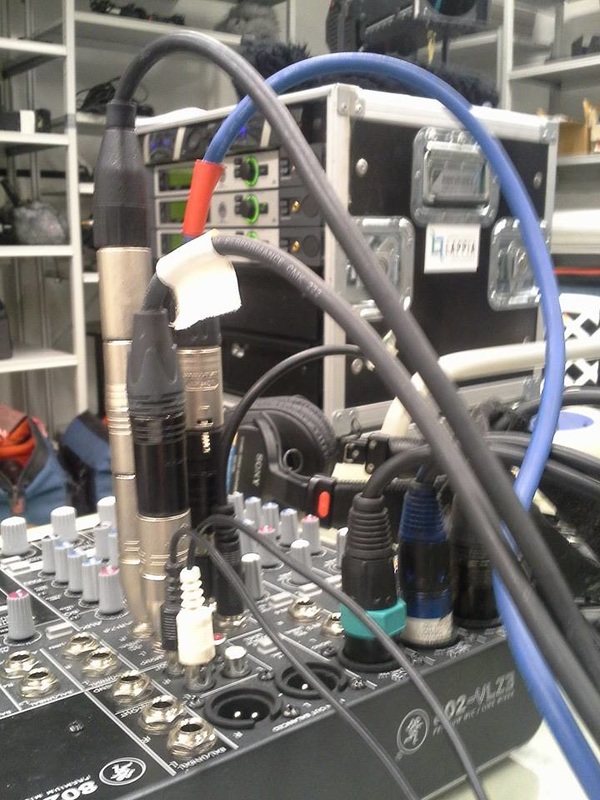
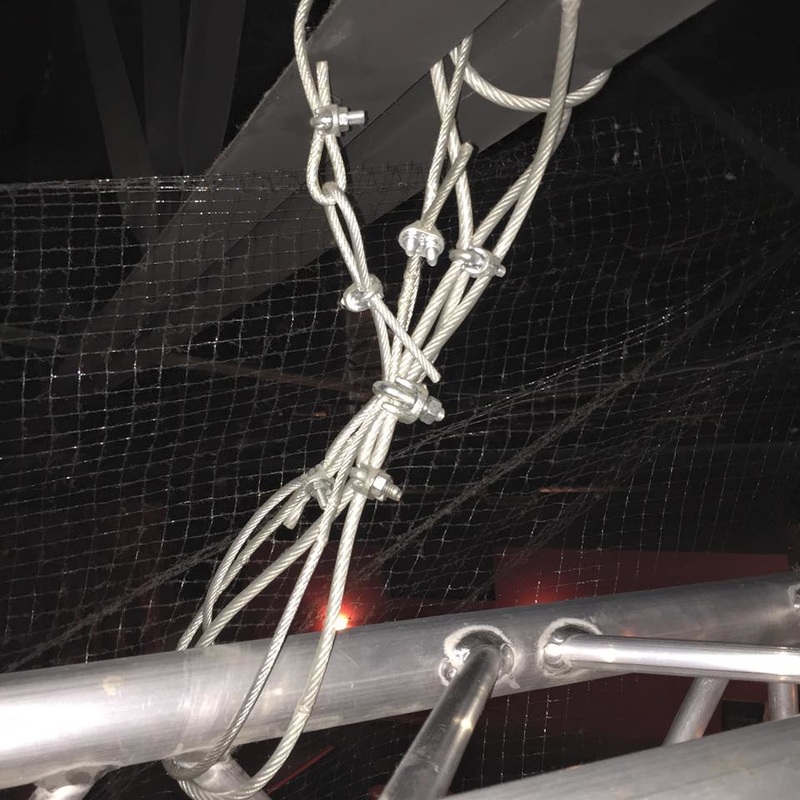
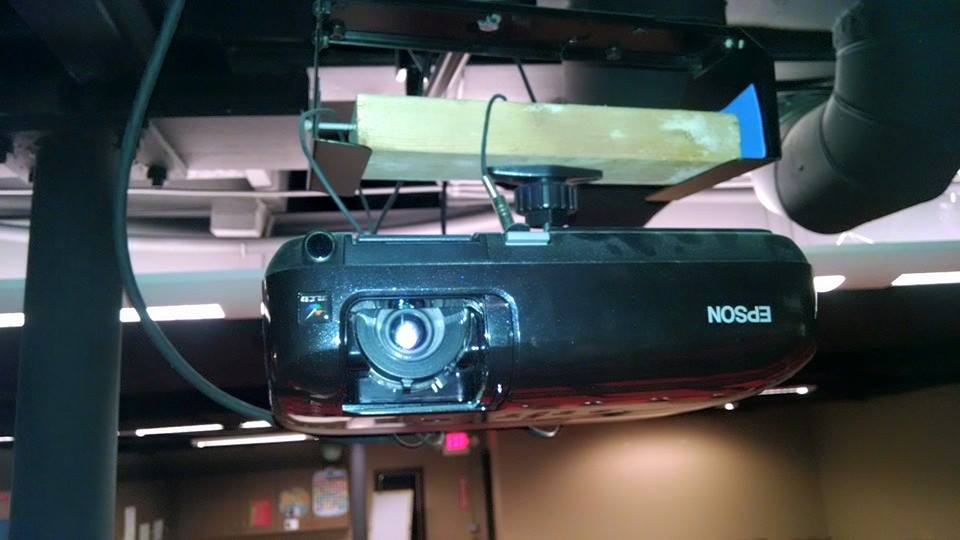
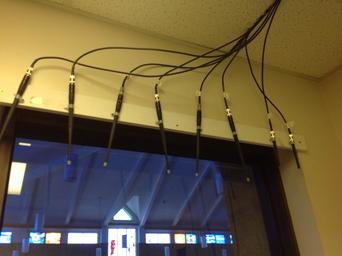
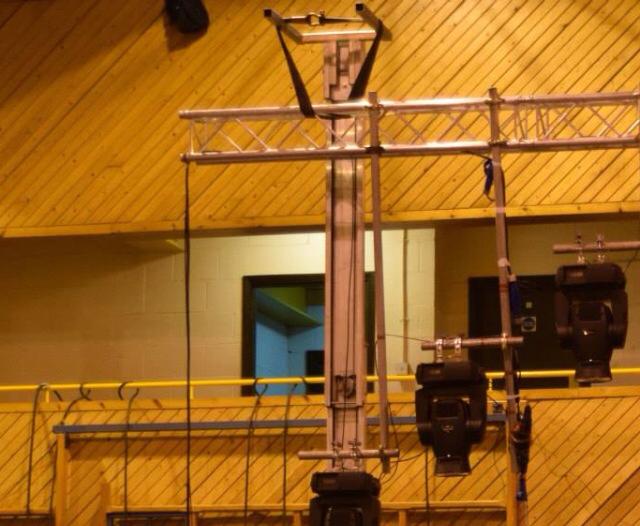
IN NO PARTICULAR ORDER (Stream of consciousness kind of stuff here folks): 1. Cut 400hz in the kick the drum (4db or greater), and then boost 400hz in the bass guitar around the same amount of db as you cut from the kick. Adjust from there. 2. Reverse the polarity of either the kick or bass (whichever sounds better). Meaning - the kick should be one polarity, and the bass should be the other. Allot of times this will get you what you need without doing anything else. 3. Add some distortion/overdrive to the bass guitar. Yes, that's right folks. A little (most of the time) is all you need. Just enough for a little hair, but more felt than heard. You may have an outboard effects processor that can do this, or you may have to use something like a Sansamp BassDriver. The BassDriver has a built-in overdrive circuit just for this purpose. EBS also makes an overdrive pedal for bass as well. 4. Change mic position of the kick drum. If the bass guitar is more boomy, then go to your kick drum & push your kick drum microphone deeper into the kick nearer the beater head. This will give it more "click," and will mostly give more separation between the two. Really, changing mic positions should be the first thing you do (or at least that's what most experienced engineers will tell you is the textbook thing to do), it's just that I forgot to put it in the Number 1 Spot! Ha! Most engineers are too lazy to actually leave the booth and would rather reach for the EQ (hence the number 1 spot above)! Zing! 5. Sometimes a little boost in the 100hz range on a bass guitar can really help too. This will give the bass guitar more of a "hard" sound that a kick drum will have a harder time reproducing (depending on the drum). This is not a rule. This could help or make it worse depending on the instruments. If you do this, you may boost around the 50-80hz range on the kick - so that as the kick is booming, the bass guitar is "thudding." Yes, "thudding" is a word because I just used it! Ha Ha ha... 6. Use compression on both (or just one) the kick drum and bass guitar. Vary the attack and release times for both within reason. Maybe a slower attack time for the kick than the bass guitar (or vice versa). You'll know when to stop when you hear it. This basically will let the initial transient through without compression and then clamp down, thus fooling the ear to give it more "punch" when you use some make up gain to equal the same amount you are actually compressing. So, if the threshold of your compressor is set to compress about 3-4 db on the gain reduction meter, then adjust the make-up gain to the same amount. Start at 20ms. on the attack, and adjust it from there. LET YOUR EARS BE YOUR GUIDE ( <<<< the best advice). 7. Change microphones (subscribe to learn about microphone types and placement, and unlock this link) on the kick drum (if you have another kick drum mic). Most churches will only have one kick drum mic, or none at all! Boooo. 8. Tell the bassist you need more high-end from his bass, because it is coming across as muddy (if this is the case). Allot of times, a bass guitar can just throw a ton of mud all over the mix. If you tell him/her that you need more "treble," they may be more resistant, than if you word it that you need more "high-end" because their bass guitar sounds like mud. "Hey bass dude, can you give me some more "high-end" because your bass sounds muddy." 9. Change out the bass guitar for a different one if you have it. 10. Parallel process your bass guitar or kick drum by multing a channel. 11. Use a drum trigger on your kick drum and blend in the triggered sample. Allot of times, this can make a really big difference in separating the kick drum from the bass. 12. Panning! If you are running a stereo mix (this can also be used in recording too), you can try panning the kick drum about 5% to the left, and then pan the bass guitar about 5% to the right. There are allot more techniques you can use to bring some separation between the kick drum and bass guitar in a mix, but the above tips should help you get there pretty quickly. One of these things may be all that you need to do; so stop when you get there, and move on to the next problem.  I get quite a few calls from churches that need me to come in and figure out what is going wrong with their sound system. It is usually one of two issues: 1. Operator Error - volunteers with no training; making poor decisions (like gain structure, making neat designs with graphic EQ controls, using the wrong cabling, etc). Kind of Like this: 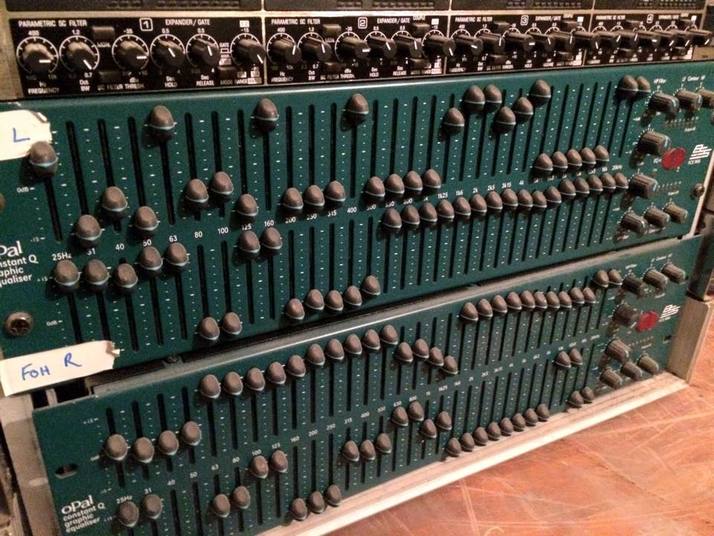 It would appear as if a 3 year old had some fun... 2. The Other Issue I Get a Call the Most About Are Band-Aids, Yup That's Right, Band-Aids - What I am referring to, are quick "fixes." A.K.A. Redneck Engineering. This is usually caused by a well-meaning volunteer not having the right cable at the time of a need, or perhaps they were trying to fix something at the last minute, and they just "made it work." There are times when every one of us will find ourselves in a pickle; where you just don't have what you need at the time. The problem is when we are satisfied with just making it work, but not making it right later. If you have to rig something up at the last minute, then fine, but go back and fix it as soon as you can. This will save you a headache later. Other band-aids include homemade speaker rigging (which can kill someone), projector mounts (the most common diy hack I have seen), multiple adapters connected together for signal cable patching, the wrong type of cabling used (like speaker cables for signal cables and signal cables used for speaker cables), etc... With that said, I now present to you, the wall of shame:
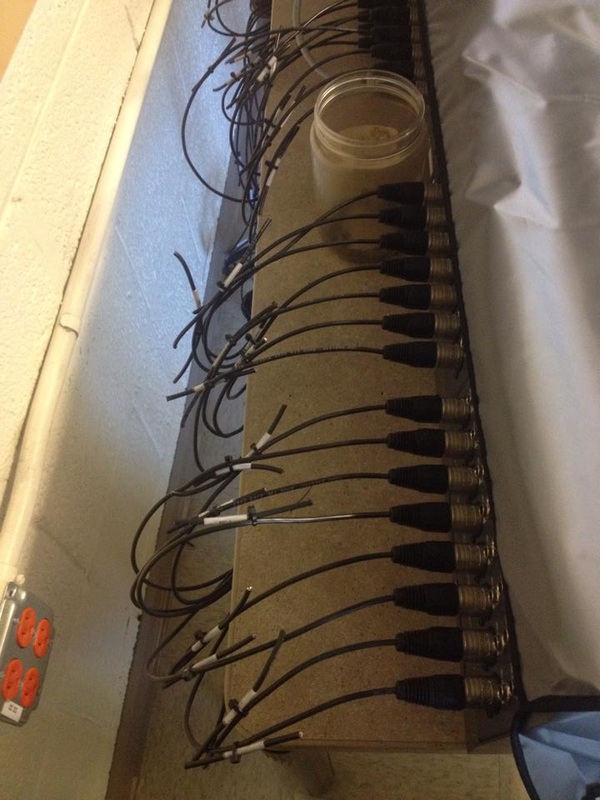
Photo Credits: The members of the AV Install Nightmares Facebook Group So, what is the solution? It's two fold. A. The most important advice I can give first, is about rigging. If you are not experienced and licensed at speaker rigging, don't do it! That's a good way for someone to get killed. I know of a church that did a DIY job on hanging speakers in the air, and a large speaker came down in the middle of a service, and killed an old lady by the stage. Not a good day. B. Learn how to solder if you don't know how to already. Have some bulk microphone, speaker, and instrument cable available with a plethora of different types of connectors ready to go. I would get at least 500 feet of microphone cable. It'll go allot quicker than what you think. My church keeps bulk cable available for use, and we went through almost 1000 ft. of it within 2 years. Here is a legit place that you can buy whatever you need: http://www.parts-express.com/cat/audio-connectors/59 I would purchase at least 6 of the following connectors (Neutrik makes a great connector, and would be the best brand to get - yes switchcraft is good, but the cable clutch system that Neutrik connectors offer, is superior in my opinion): XLR - Both male and female connectors 1/4" TRS Male - Yes, just male. This will force you to make the right cable, and not just an extension! 1/4" TS Male RCA Male 1/8" TRS Speakons - If you bi-amp, you'll need the 4 pin, and if you run full-range, you'll need 2 pin While you are at it, it's good to purchase some heatshrink. Then, once you get the materials you need, I would print this chart. It shows the wiring diagrams of different types of cables. You match the 2 connectors shown in the chart for the number given, and then scroll down to the corresponding number's wiring diagram. Super useful.
This page has some cool articles that might help as well! |