|
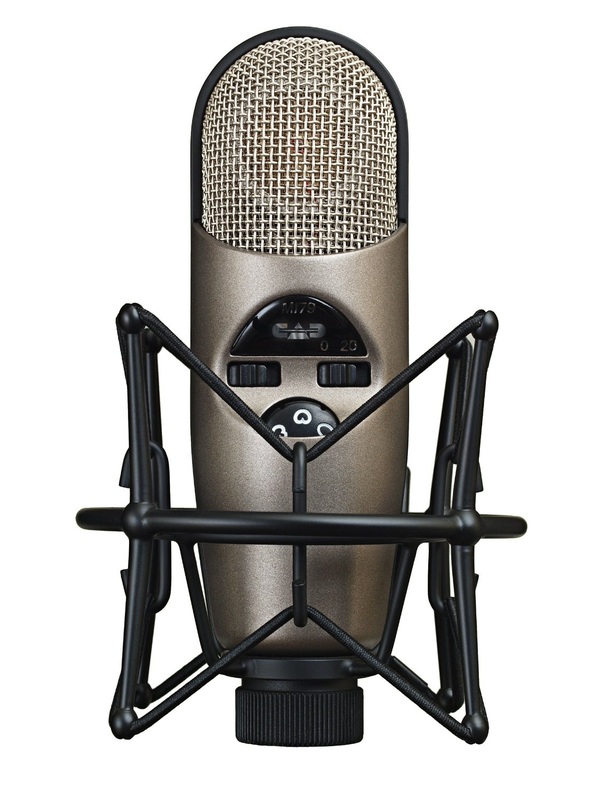
If you are in the market for an affordable condenser microphone that can handle a variety of jobs with ease, you may wanna take a looksie at the CAD M179. Although I am not necessarily a fanboy of all CAD products, the M179 is a true little jewel of a mic. Uses: Allot of engineers like this as a drum overhead microphone, but it can be used on just about anything. The CAD M179 can take up to 143 decibels (with the pad enabled), so you can even throw it in front of loud sources - like a guitar amplifier. Features: The M179 has a continuously variable polar pattern selector - basically this means that you can select a Hypercardioid, Cardioid, Figure of 8, or Omni - and everything in between those patterns as well! This ability makes this microphone very versatile. It also features a Pad and a High-Pass filter to boot. Price: At $199 street, this microphone is a steal - especially if you need something inexpensive for events like live festivals, or other duties where you'd rather not bring out your more expensive microphones.
0 Comments
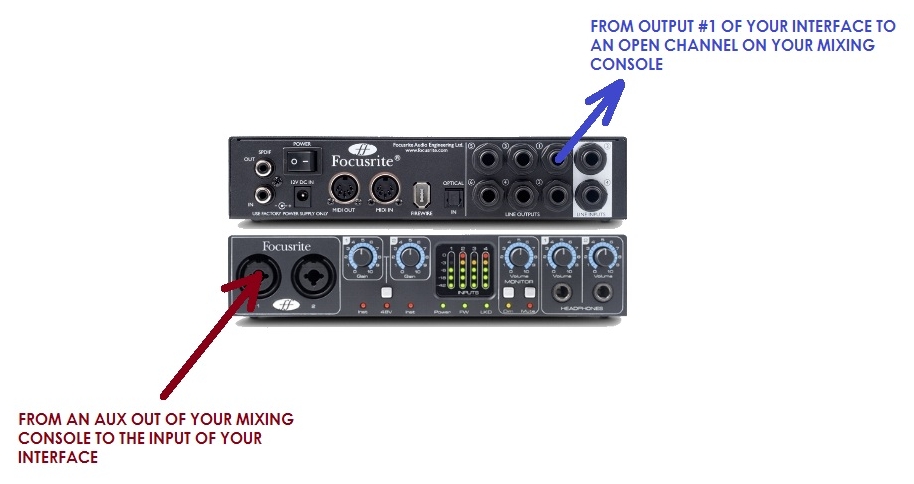
**Disclaimer: This article is written for PC users, although you can find a free VST host for Mac here, or here - and accomplish the same thing. You may also be able to use a wrapper for non-VST plugins, but I have not tested this out as of yet for this purpose. So, for our last installment of "Cool Live Sound Tricks," we discussed how to set up an echo/reverb chamber at a live venue for another reverb option when mixing. This week, we are going the opposite direction. Some of you love recording and invariably have collected some great sounding plugins you use on a constant basis to get the mix you want. Some of you may not know that it is very easy to incorporate them in a live setting. For this particular tutorial, we are going to be using VST plugins for 2 reasons: 1. You can find them super cheap (or free) in numerous places on the web. 2. Finding a host that will work live is super easy and quick because there's allot of development around the VST format in that area. Step 1: You'll Need the Following Supplies - a. A mixing console (this is a given). b. An audio interface c. A computer d. VST Plugins e. A program called VST Host. Here is a list I came up with a while back that lists some of my favorite free VST plugins. If you look around on KVR, you can find even more cool stuff! Step 2: Watch This Video To Learn How to Set It Up - Note: If you use this for a dynamics processor or drum replacement, you will want to run the interface as an insert and not off of an Aux. Also Note: VST Host can used with multiple plugins - on the video I just show one for brevity sake, but you can use more than one if you'd like. You can also use this program as a host for instrument VSTs. It can receive and send MIDI as well. Experiment, Play With It, Have Fun! Rock On...
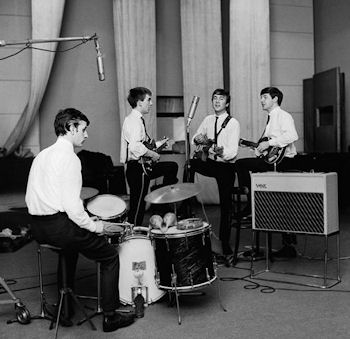
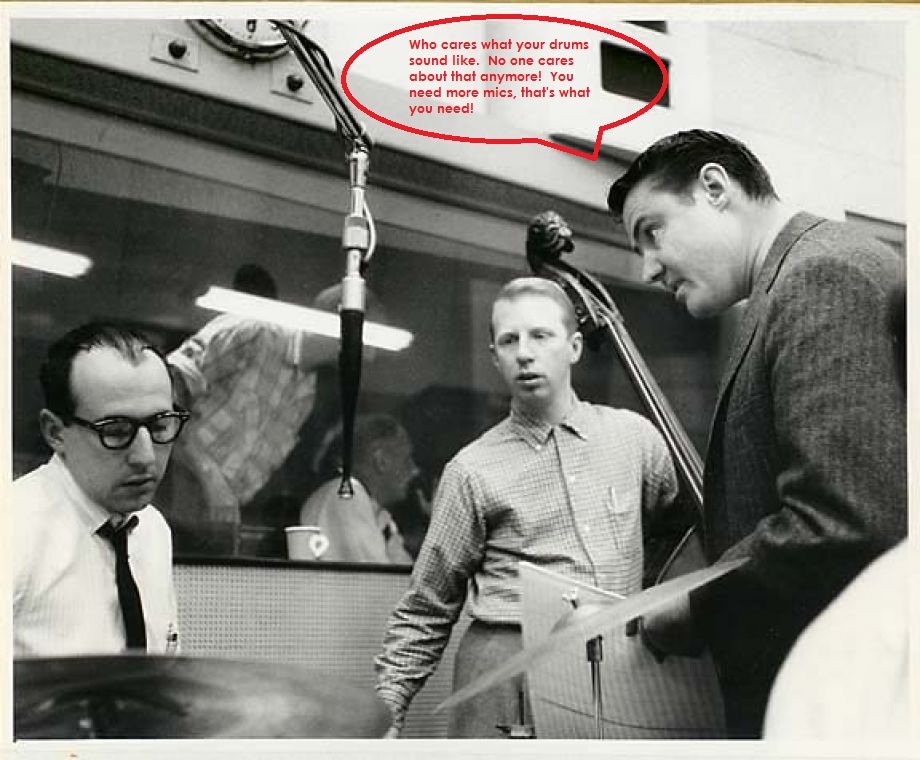
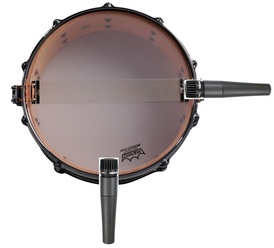
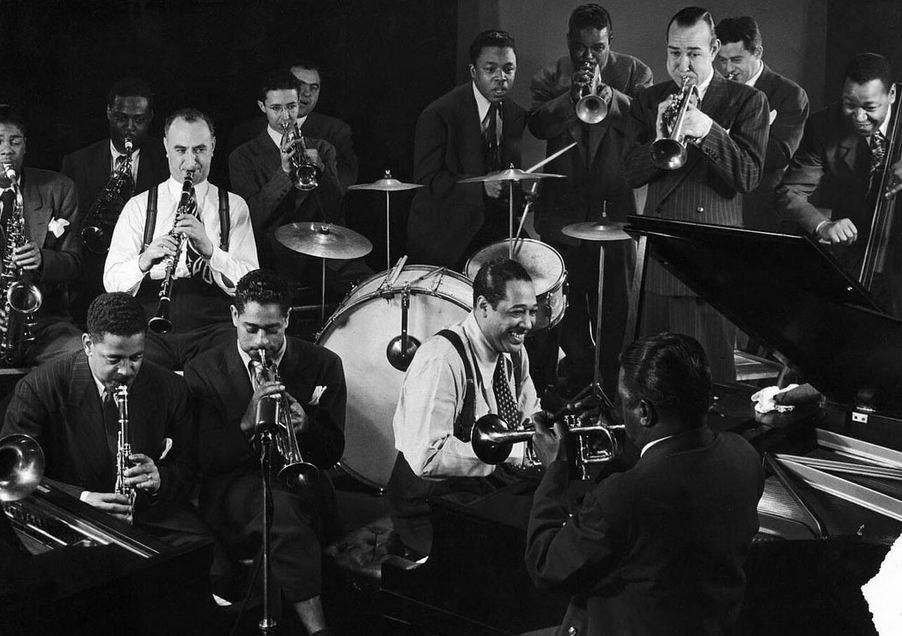
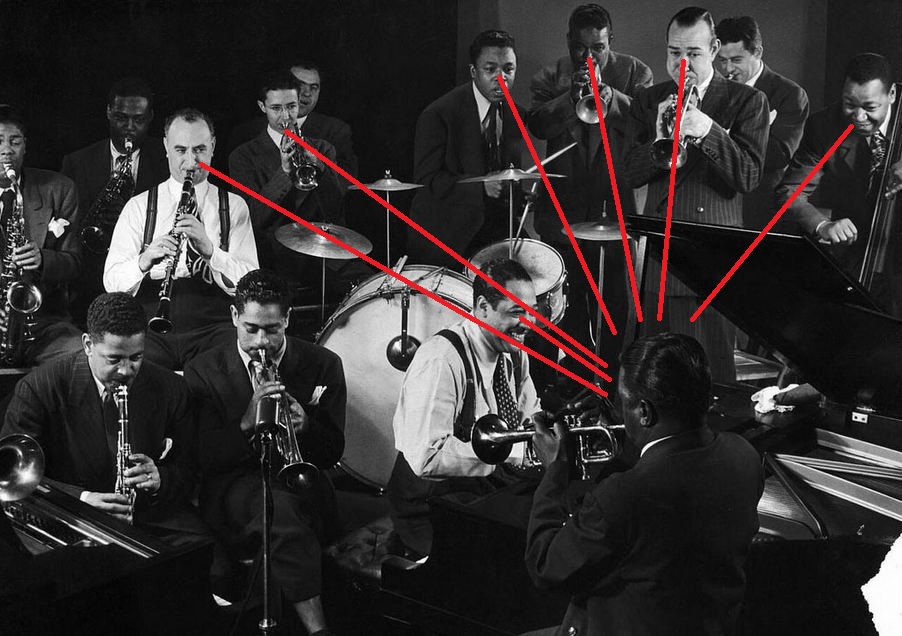
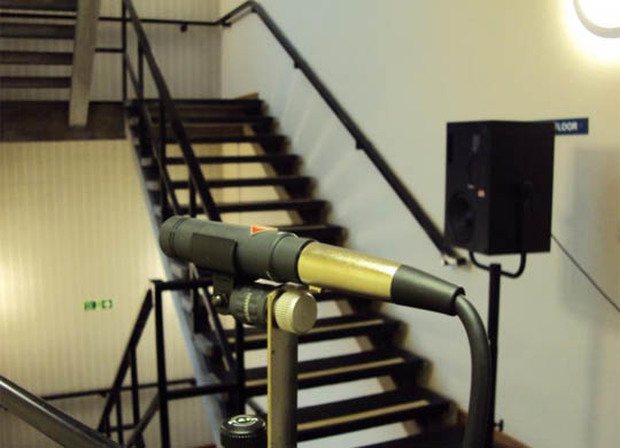
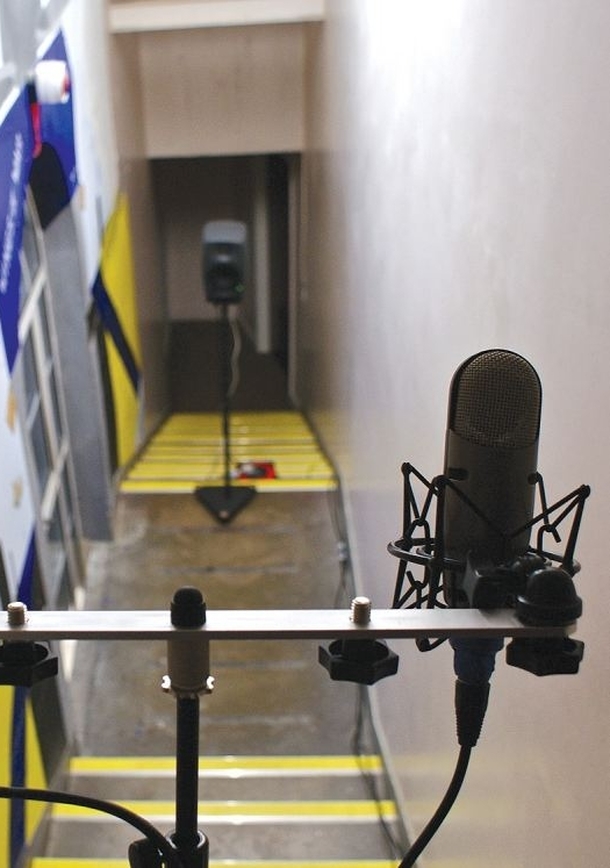
CATCH THE VISIONIf you are a recording engineer, you should really see yourself as an audio historian. You are essentially capturing moments that will never happen again. Are you approaching your craft with the utmost care and thoughtfulness? If you don't bring your A game at all times to your craft, then what are you doing? You have to change your perspective. No more old hat. None of us has all of this stuff figured out. Successful engineering many times is a back catalog of happy accidents (or divine moments) built on a foundation of hungry learning. When I first started getting into audio, I started on this quest in reading everything I could get my hands on. Most of it was the old school engineer's methods of recording and such. I devoured it day after day. I interviewed, I called, I watched, and I improved (I am still improving). "If you don't bring your A- game at all times to your craft, then what are you doing? You have to change your perspective. No more old hat. None of us has all of this stuff figured out. Successful engineering many times is a back catalog of happy accidents (or divine moments) built on a foundation of hungry learning." All of the above has everything to do with how you amplify or record a drumset. Yes, that level of care and expertise should be taken. Don't just throw a bunch of microphones up there and hope for the best. a DRUMSET IS JUST ONE INSTRUMENT, NOT A BUNCH OF INSTRUMENTS PUT TOGETHERThe sound of your drumset will always lack that special "something" if you view it as a bunch of separate drums and cymbals put together. A set has to have a cohesiveness to it when you are presenting it (like one instrument), or you have failed in that area as an engineer. Ouch. You may be asking, "How do I get it to have that sound?" Well keep reading, and this question will be answered shortly. STEP ONE - THE MUSICIANIf your drummer is not up to snuff, can't play to a metronome, can't decide on a solid kick pattern so that the bassist doesn't put him in a judo hold and choke him out, never hits the snare in the same place twice, loves to punish his/her hats, lacks dynamics, plays one big drum solo the whole time, and....well, you may be getting the point. The first step in drumset cohesiveness is the musician (most of the world refers to them as drummers). A great musician will strike each part of his/her kit dynamically with what's going on in the song. They will bring glue to their own kit. They know what cymbals need to be struck where, the best place to strike their toms, what the beater material needs to be for the song, etc. This is something that comes with experience. STEP TWO - THE INSTRUMENTDoes the set sound good? Fresh heads? Cymbals that sound better than old tin trashcan lids? A pedal that doesn't squeak? The same kind of dude that'll spend $200 on a pair of shoes, or $1000 on a watch, will buy the cheapest cymbals so thick that they could be used for battle armor. "I'll sacrifice for bling, but not for my art." STEP 3 - FOR THE LOVE OF GOD, LEARN HOW TO TUNE YOUR DRUMS!If you are a drummer reading this, and you don't know how to tune a drumset, then please read the above title of this section over and over. There are plenty of good tuning lessons and videos online you can watch for free. DW drums has a great one. Dave Weckl does too. STEP 4 - THE DRUMMER IS THE LEADER OF THE BANDYou may be thinking..."Oh no, I knew it...the dude writing this is a drummer." Nope, I'm a guitar player - but the sooner the band realizes this concept, the tighter and more jelled they will be! How cool would it be if a whole band would lock into what the drummer is doing. As a guitarist, I will purposely lock in what I am playing according to what the drummer is playing. As an engineer, I always make sure the rhythm section is the very foundation of my mix. If the drummer and the bassist cannot be heard in a mix, you are doing it wrong! STEP 5 - MIC PLACEMENT, MIC PLACEMENT, MIC PLACEMENT (OH, DID I MENTION MIC PLACEMENT?)Learn microphone placement. This is an art in itself. Stop being lazy. Learn your craft. There are particular guidelines you can follow to get you close, and then from there you adjust each microphone to get the voicing(s) you need from the instrument. YOU ARE MIC'ING THE DRUMSET FOR THE PURPOSE OF PRESENTING IT AS ONE INSTRUMENT, NOT AS A BUNCH OF INSTRUMENTS PUT TOGETHER. You may be saying: THE OVERHEAD MICROPHONE(S) SHOULD BE FOR THE WHOLE SET, NOT JUST FOR THE CYMBALS! THE SOUND OF YOUR SET RESIDES MOSTLY IN YOUR OVERHEAD MICS, WHILE THE KICK, SNARE, AND TOM MICROPHONES PROVIDE SUPPORT AND TONE. I know, I know, I know. All of you recording engineers are shaking your heads. I know I've lost my mind. I KNOW WHAT YOU BE SAYIN': "YOU ARE FULL OF IT DUDE!"Nowadays it's "use as many microphones as possible on a set to record it, and then replace them all with samples! HA HA HA HA HA HA.... cRAzY! I know that's the current state of affairs lately. I know that's usually what the client wants. Let's make everything as huge as possible! "Dude, I've got three kick samples going, doesn't it sound absolutely HUGE?" I came from a time that if a drummer caught you "replacing" or augmenting a snare, they would be highly offended. We had to leave that work to after hours after everyone else went home. We called this "arthuring" or "georging." This is the method in which you place a raw frame speaker on top of a good sounding snare, run the original snare track through it with it mic'd, and blend it with the original track. ka-boooom!Whose idea was it to make the kick drum the BIGGEST instrument in every mix. I mean jeez, it's getting ridiculous. You'll have this totally dry massive kick drum smacking me upside the earlobes, but the rest of the drumset is highly spiced with room mics...like as if the kick drum is in a totally separate room than the rest of the set! And that's another thing: enough with the friggin' room microphones. A little is OK, but it's gotten WAY out of hand. Phil Collins did it in the 90's with "I can feeeel it, cawmin' in de air to-night, Oh Lawd." Here comes the drum roll.... Ever since then, room mics galore! Weeee! Huge & dry kick drums with really verby room mics. Makes no sense. RANDOM TIPS FOR CAPTURING AND PRESENTING DRUMSIN NO PARTICULAR ORDER: Make sure your drums are tuned well. My Opinion: If your drums are tuned well, you won't need any type of muting on the toms nor snare. This is highly subjective I realize - both according to what the musician wants and what the song my dictate. Use a pillow for your kick drum. Yes, the kind you lay on. Nice and fluffy. Forget about those goofy little oblong overpriced pads that fly up every time you smack the kick drum. Know the difference in tone between these two scenarios: Or this (2 positions compared): Learn the difference in microphone types, and the voices they can lend to your set. The least amount of microphones on a set is advisable. Learn about phase, polarity, and different stereo mic'ing techniques for drum overheads. One overhead condenser microphone over the right shoulder of the drummer, pointing at the toms, is a great way to mic a set if you don't have many microphones to work with. The old "rule": Anything with a head, use a dynamic microphone. Point your overhead mics at the toms rather than the cymbals. Don't worry, your cymbals will be heard! So will your snare. Learn that EQ is your last resort. Equalization is to fix a problem. It's not supposed to be "the given." Oooooh, alright! With that said: A boost around 7khz can bring out more snare or cymbal "sizzle." 200hz'ish range is warmth. 50hz is the low warm boom. 80hz is the low punch. 100hz is the thud. Around 400hz in a kick drum is mud, while in a bass guitar, it's note definition. Plate verbs can be cool for snare drums. Sending your drums to a sub-bus, and then using compression on that bus can add some glue to a set. Same can be said with using the same verb on a sub-bus as well. Make the drums as realistic sounding as possible, not as big sounding as possible - unless of course you are mixing metal. All click and no tone! Rah, Rah Raaaaaah!!! Yeeeaaaahhhh! Yeaaaaaah! <---- you gotta have a ton of "yeaaahhhhhs" in a metal song. Each drum should sound as plastic as possible with HUGE kick drums and a click sound every time the drummer hits a drum. Ha!!!! Don't use compression for your overheads, or use very little with light ratios (unless of course you are going for that really squishy thing). 2:1, compressing not more than 3-4 db as an example. Never play around with Low-Pass filters for your kick. Let it bleed...just like in real life. If recording, feel free to take off the front resonant head off the kick drum, and then place a heavy quilt over the front of it after you have found a good mic position inside the drum. After that, you may have to adjust the mic to get the perfect tone. For more attack, move the mic closer to the beater head (or change the beater type), for more boom - move it further away from the beater head. Allot of times, a better tone in a kick drum can be found with the mic closer to the inside of the shell rather than in the very middle of the drum. Learn about the vibrational modes of a circular membrane (as mentioned above). Gates are a plague. Never use a gate.....ever. Let your drums ring. How would you like it if someone cut off the last part of every one of your words in an important conversation? Ha! Compression: slower attacks to let the initial transient through will add a degree of "punch" to a drum. Start around 15-20ms. Adjust to taste. Hard Knees for bass instruments, soft knees for treble/mid instruments - like cymbals or a snare... Ok I'm tired...Much love everyone! Did you know that your church (or other facility) may have an extra reverb processor you didn't know about? Yup. It very likely has been there the whole time under your nose, and you didn't even realize it. Back in the 1950's & 60's, recording studios didn't have digital reverb effects processors. Instead, to get reverb on a track, they'd use something called an echo chamber. Basically, an echo chamber is comprised of a reverberant room with a speaker and a microphone. A lot of times, the verb in an echo chamber can sound really awesome. That is part of what made some of the older recordings so pleasant to listen to. Let's Do This! Well guess what, you can do the same thing too in a live setting. You may say, "How is this possible?" Well it is very simple actually. Check the facility. Find out if there is an old abandoned hallway, or perhaps a reverberant bathroom that is no longer used anymore. You may also have a stairwell or perhaps a long hallway near the console or stage area. The perfect DIY echo chamber will be a space that will not be used, and where you can pump an audio feed from a console channel to it, and it won't disturb anyone. From there, find an unused Aux channel, and feed that to a powered speaker or an amplifier that will be powering a speaker to your verby room. This speaker typically fires on the far side of a DIY echo chamber. Now place a condenser microphone on the other side of the room where the reverb you hear sounds the most pleasant. Listen for a sweet spot in the room where the verb sounds the best. Place the microphone(s) in that spot, and feed that signal back into an empty channel on your console. This will be your natural reverb channel, and behaves just like any other reverb/echo return on your console. Tweak It! If the room is too verby, you can tame that with some type of absorbent material - like couch cushions, a mattress, an old blanket, etc etc etc. You can also "tune" the reverb return on your console by using a channel EQ or a High-Pass filter. The reverb from your DIY echo chamber may sound awesome though just as it is. Let your ears be your guide on this. It may take some experimentation to get what you like, but with enough patience, you'll get it. If you really know what you are doing, you could use a delay unit to get some pre-delay going as well. Using the 60,000/BPM equation, you can also time this pre-delay to the tempo of the song. What Type of Hardware Do You Need (and other questions) ? Speaker: Find a decent sounding speaker. It can be an unused stage monitor. Powered speakers are the easiest to use because you don't need a separate amplifier, but use whatever you have that sounds good. Experiment with speaker placement. You can try firing directly into a wall, or perhaps coming from a corner. Microphone(s): An omni microphone is usually preferred, but any type of condenser mic will work. If it's a cardioid, you can try pointing the microphone towards a wall with the back of the microphone facing the speaker. Some folks prefer ribbon microphones, and they definitely impart a different tone to a reverb. Use a stand to experiment with different heights and angles. Note: Don't forget to enact phantom power if it is a condenser mic you are using. If it is a typical ribbon microphone, make sure the phantom power is turned off so that you don't fry the ribbon. How Loud: It doesn't have to be loud. Anywhere from the 60-80db range will be plenty loud enough to get what you need from your DIY echo chamber. |
Do you like vintage recording gear and articles? You should visit our sister site: The Vintage Audio Portal!
**Advertise With Us! We have thousands of visitors a day. Contact us here to learn more.
Archives
August 2021
Categories |
