|
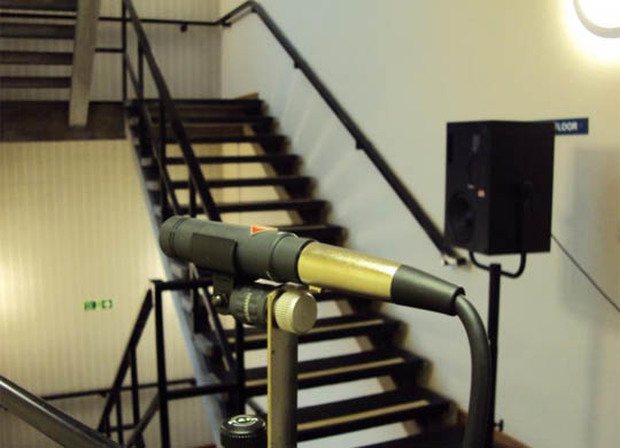
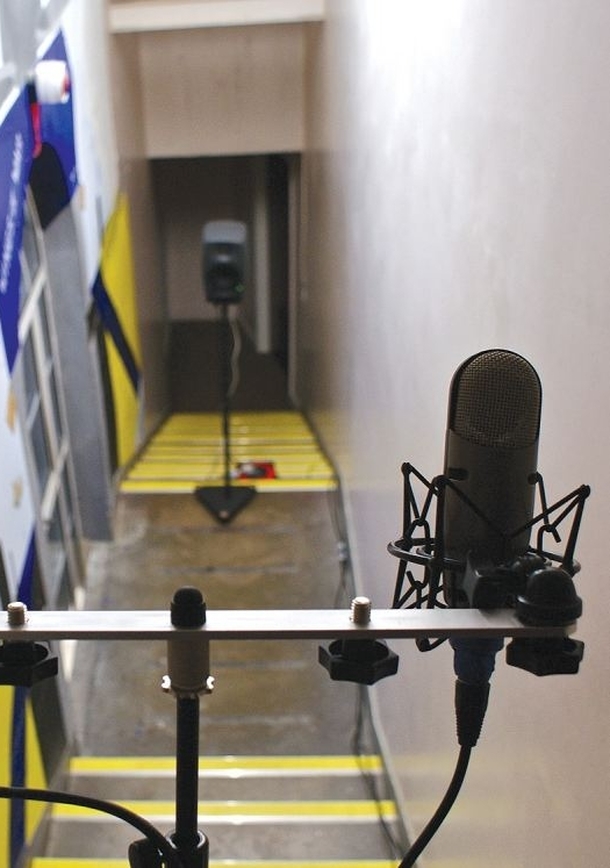
Did you know that your church (or other facility) may have an extra reverb processor you didn't know about? Yup. It very likely has been there the whole time under your nose, and you didn't even realize it. Back in the 1950's & 60's, recording studios didn't have digital reverb effects processors. Instead, to get reverb on a track, they'd use something called an echo chamber. Basically, an echo chamber is comprised of a reverberant room with a speaker and a microphone. A lot of times, the verb in an echo chamber can sound really awesome. That is part of what made some of the older recordings so pleasant to listen to. Let's Do This! Well guess what, you can do the same thing too in a live setting. You may say, "How is this possible?" Well it is very simple actually. Check the facility. Find out if there is an old abandoned hallway, or perhaps a reverberant bathroom that is no longer used anymore. You may also have a stairwell or perhaps a long hallway near the console or stage area. The perfect DIY echo chamber will be a space that will not be used, and where you can pump an audio feed from a console channel to it, and it won't disturb anyone. From there, find an unused Aux channel, and feed that to a powered speaker or an amplifier that will be powering a speaker to your verby room. This speaker typically fires on the far side of a DIY echo chamber. Now place a condenser microphone on the other side of the room where the reverb you hear sounds the most pleasant. Listen for a sweet spot in the room where the verb sounds the best. Place the microphone(s) in that spot, and feed that signal back into an empty channel on your console. This will be your natural reverb channel, and behaves just like any other reverb/echo return on your console. Tweak It! If the room is too verby, you can tame that with some type of absorbent material - like couch cushions, a mattress, an old blanket, etc etc etc. You can also "tune" the reverb return on your console by using a channel EQ or a High-Pass filter. The reverb from your DIY echo chamber may sound awesome though just as it is. Let your ears be your guide on this. It may take some experimentation to get what you like, but with enough patience, you'll get it. If you really know what you are doing, you could use a delay unit to get some pre-delay going as well. Using the 60,000/BPM equation, you can also time this pre-delay to the tempo of the song. What Type of Hardware Do You Need (and other questions) ? Speaker: Find a decent sounding speaker. It can be an unused stage monitor. Powered speakers are the easiest to use because you don't need a separate amplifier, but use whatever you have that sounds good. Experiment with speaker placement. You can try firing directly into a wall, or perhaps coming from a corner. Microphone(s): An omni microphone is usually preferred, but any type of condenser mic will work. If it's a cardioid, you can try pointing the microphone towards a wall with the back of the microphone facing the speaker. Some folks prefer ribbon microphones, and they definitely impart a different tone to a reverb. Use a stand to experiment with different heights and angles. Note: Don't forget to enact phantom power if it is a condenser mic you are using. If it is a typical ribbon microphone, make sure the phantom power is turned off so that you don't fry the ribbon. How Loud: It doesn't have to be loud. Anywhere from the 60-80db range will be plenty loud enough to get what you need from your DIY echo chamber.
0 Comments
Your comment will be posted after it is approved.
Leave a Reply. |
Do you like vintage recording gear and articles? You should visit our sister site: The Vintage Audio Portal!
**Advertise With Us! We have thousands of visitors a day. Contact us here to learn more.
Archives
August 2021
Categories |


