Sound Instruction
  • Home
  • What's New
  • The Basics of Sound
    • The Nature of Sound
    • Acoustics
    • Microphones
    • Loudspeakers >
      • Loudspeakers - Continued
    • Amplification
    • Understanding Alternating Current
    • Circuit Values
    • Amplifier Arrangements
    • Transistors
    • Interstage Coupling
    • Noise
    • Distortion Effects
    • Using an Oscilloscope
    • Frequency Response
    • Power Amplification
    • Phase Splitting Circuits
    • Audio Transformers
    • Distortion
    • Shielding
    • Cabling
    • Electro-Acoustics
    • Audio & Hearing
  • Microphone Types
  • Mic Placement
  • Gain Structure
  • Demystifying The Mixing Console
  • Equalization
  • Compression
  • The Ins & outs
  • The Sub Bus
  • The Voicing Concept
  • Reverb
  • Good Habits
  • Psychoacoustics
  • Stage Isolation & Drum Booths
  • System Feedback
  • System Noise & Hum
  • Electronic Repair
  • Speakers
  • Tips & Tricks
  • Noise Gates
  • Mixing 101 & Beyond
  • DIY Projects
  • Digital Audio Basics
  • Stage Lighting
    • Lighting Basics
    • Brightness
    • Color
    • Controls
    • Smoke
  • Books
    • Yamaha Sound Reinforcement Handbook
    • Sound Recording & Production
    • The Art of Record Production
    • Recording & Production of Sound
    • BBC - Microphones
    • Microphones - 3rd Edition
    • How To Build A Small Studio
    • Acoustic Techniques for Home & Studio
  • The Blog
  • References Page

BAND-AIDS ARE FOR KNEES

5/1/2015

0 Comments

 
Picture

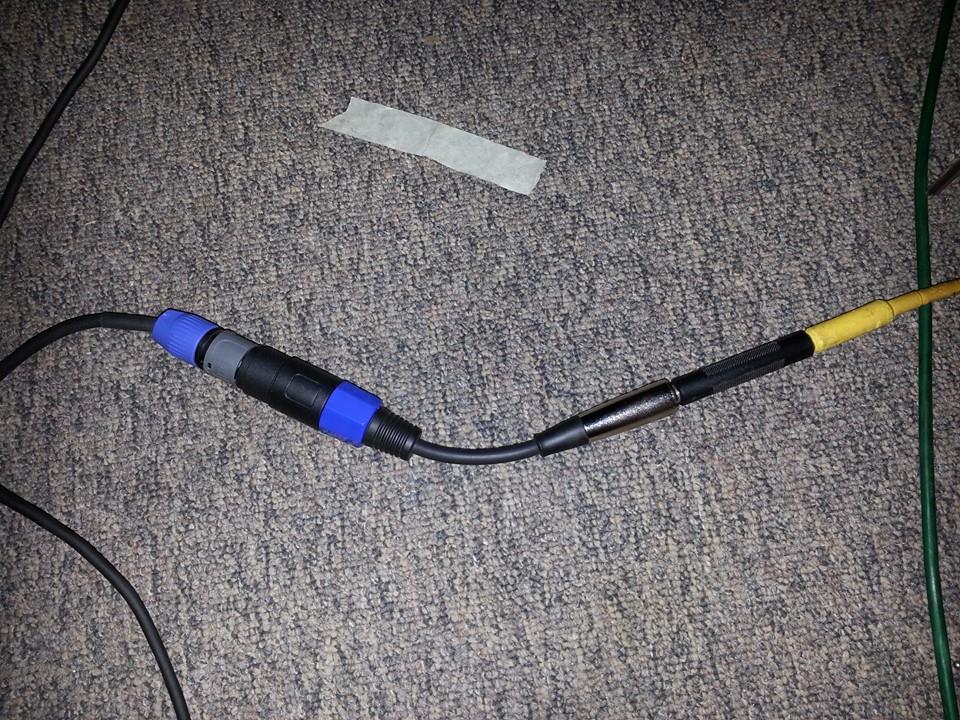
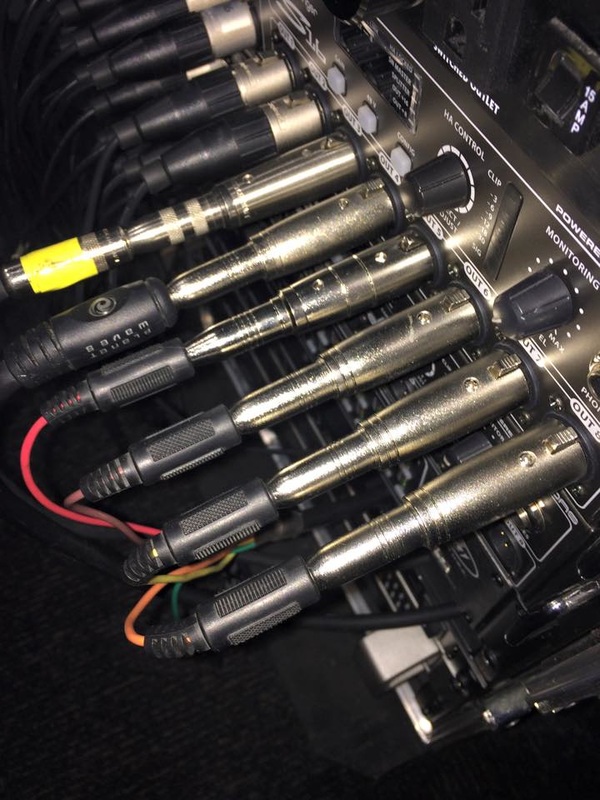
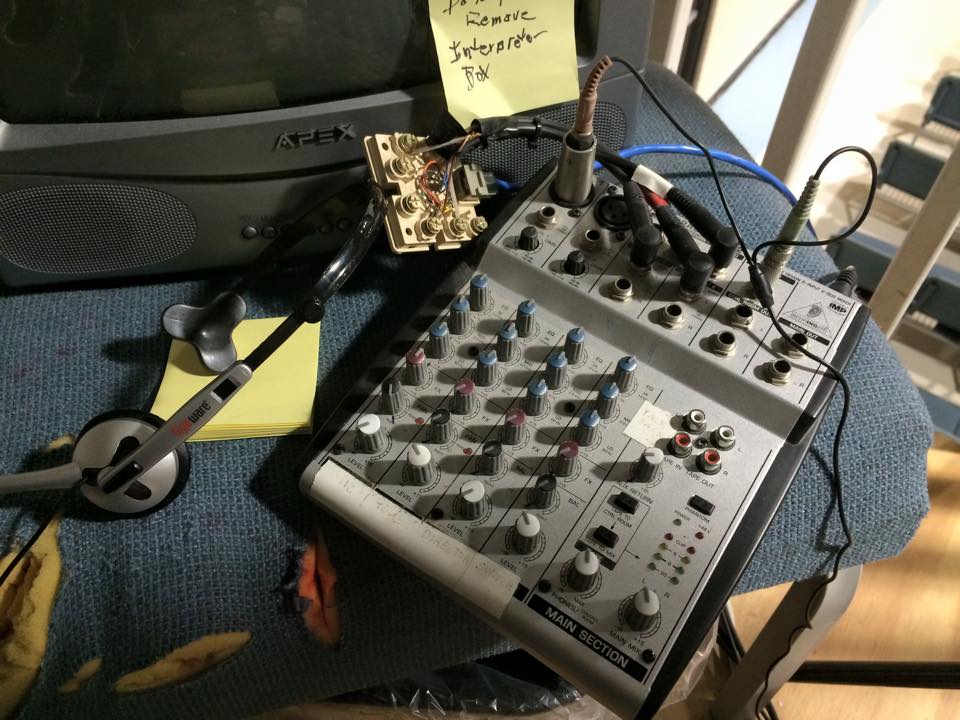
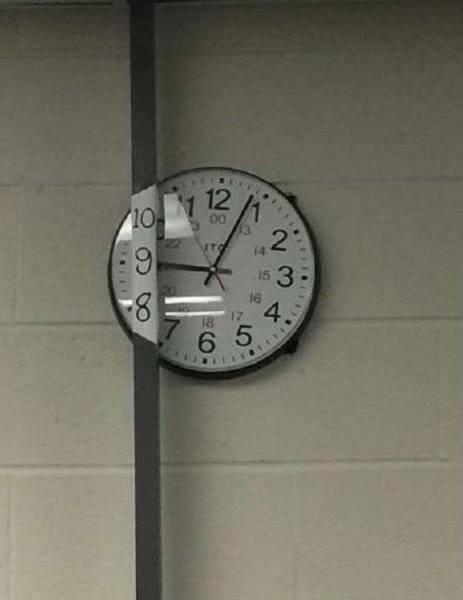
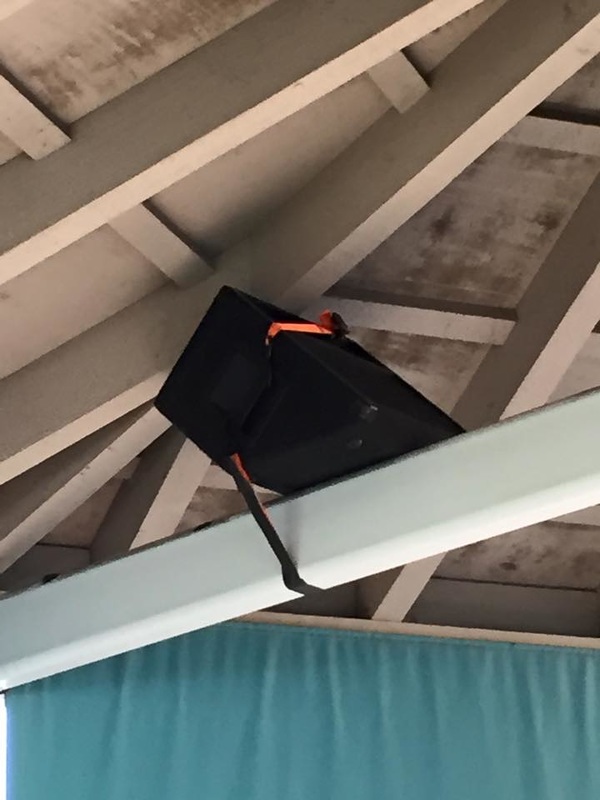
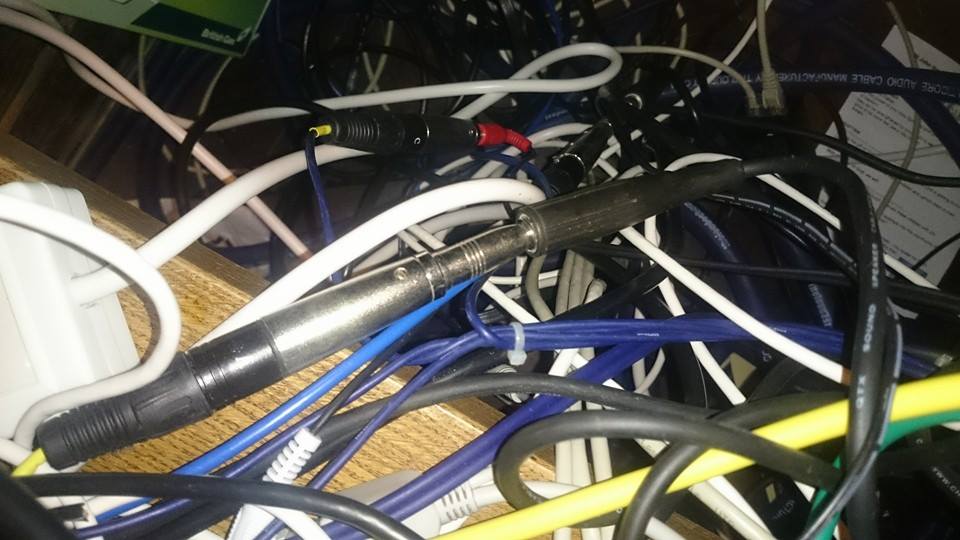
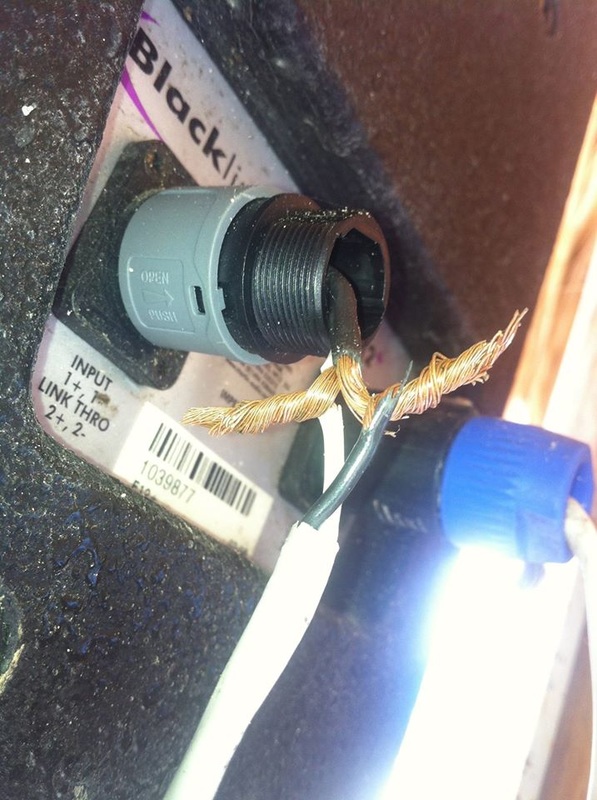
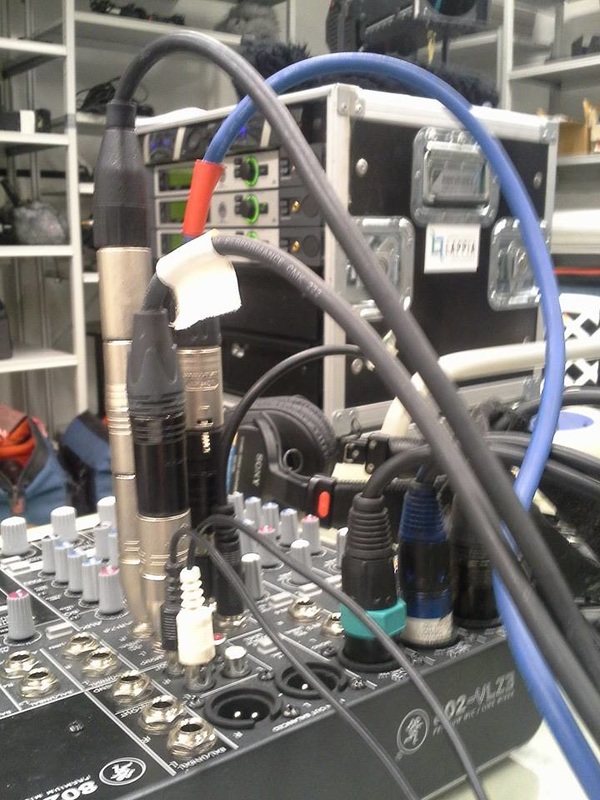
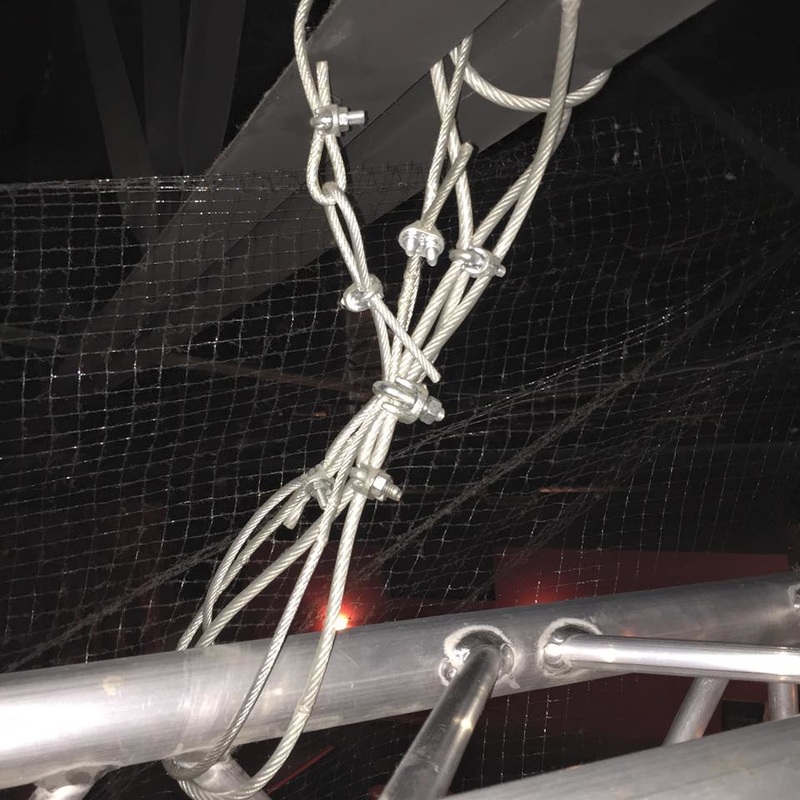
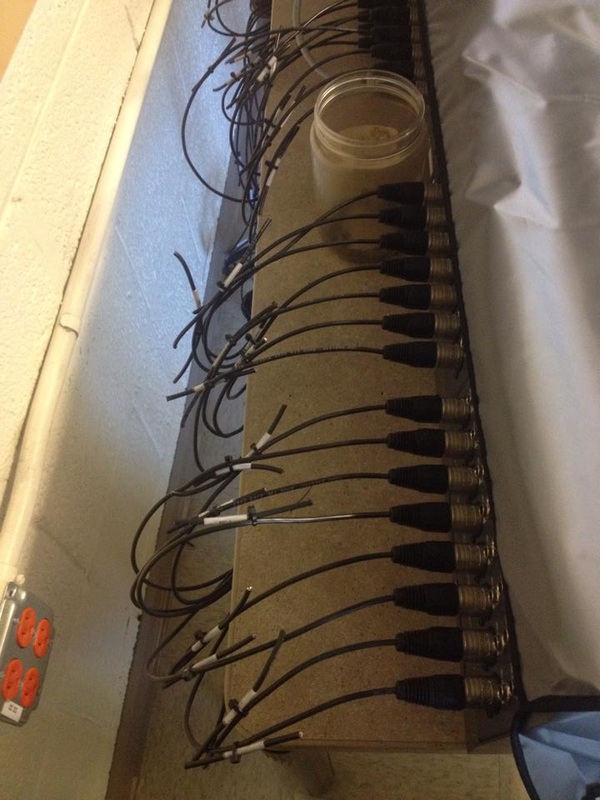
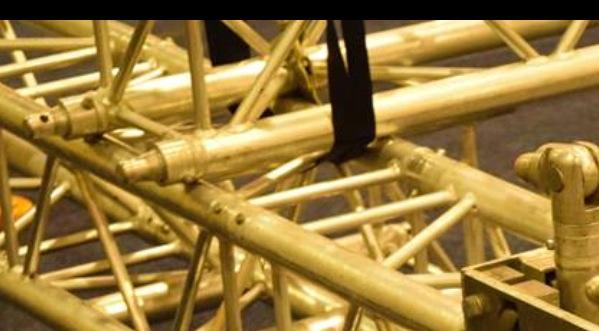
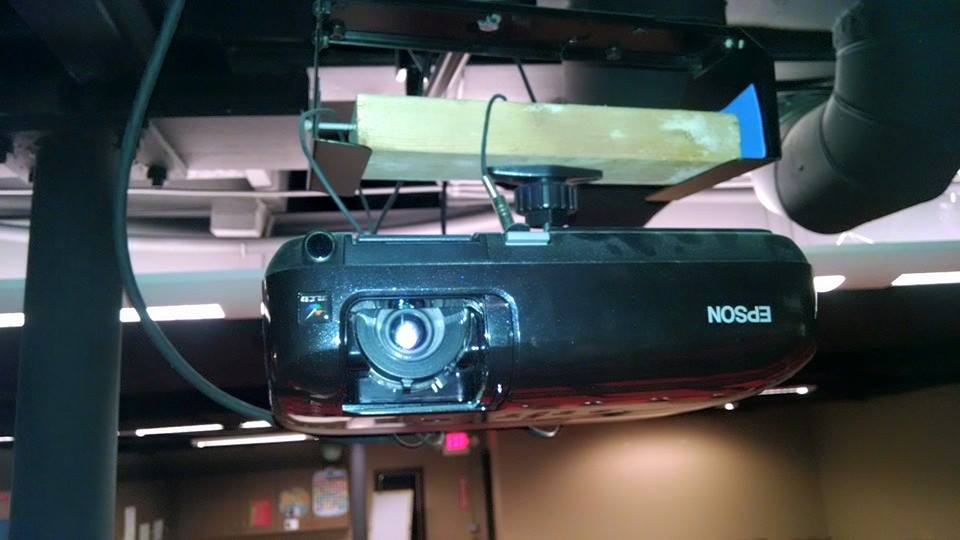
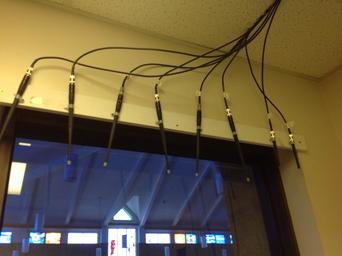
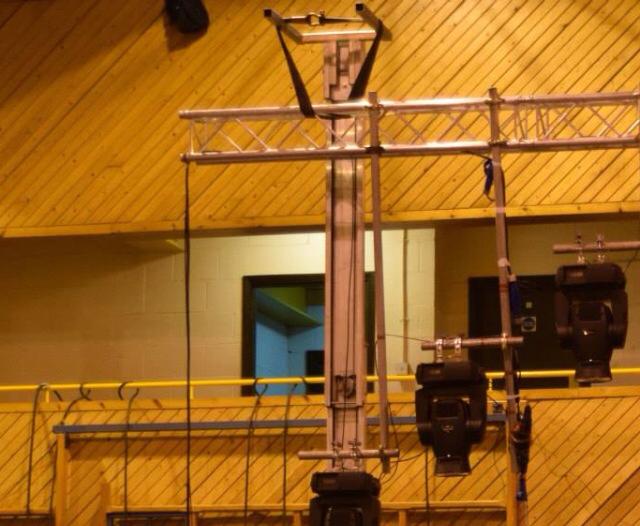
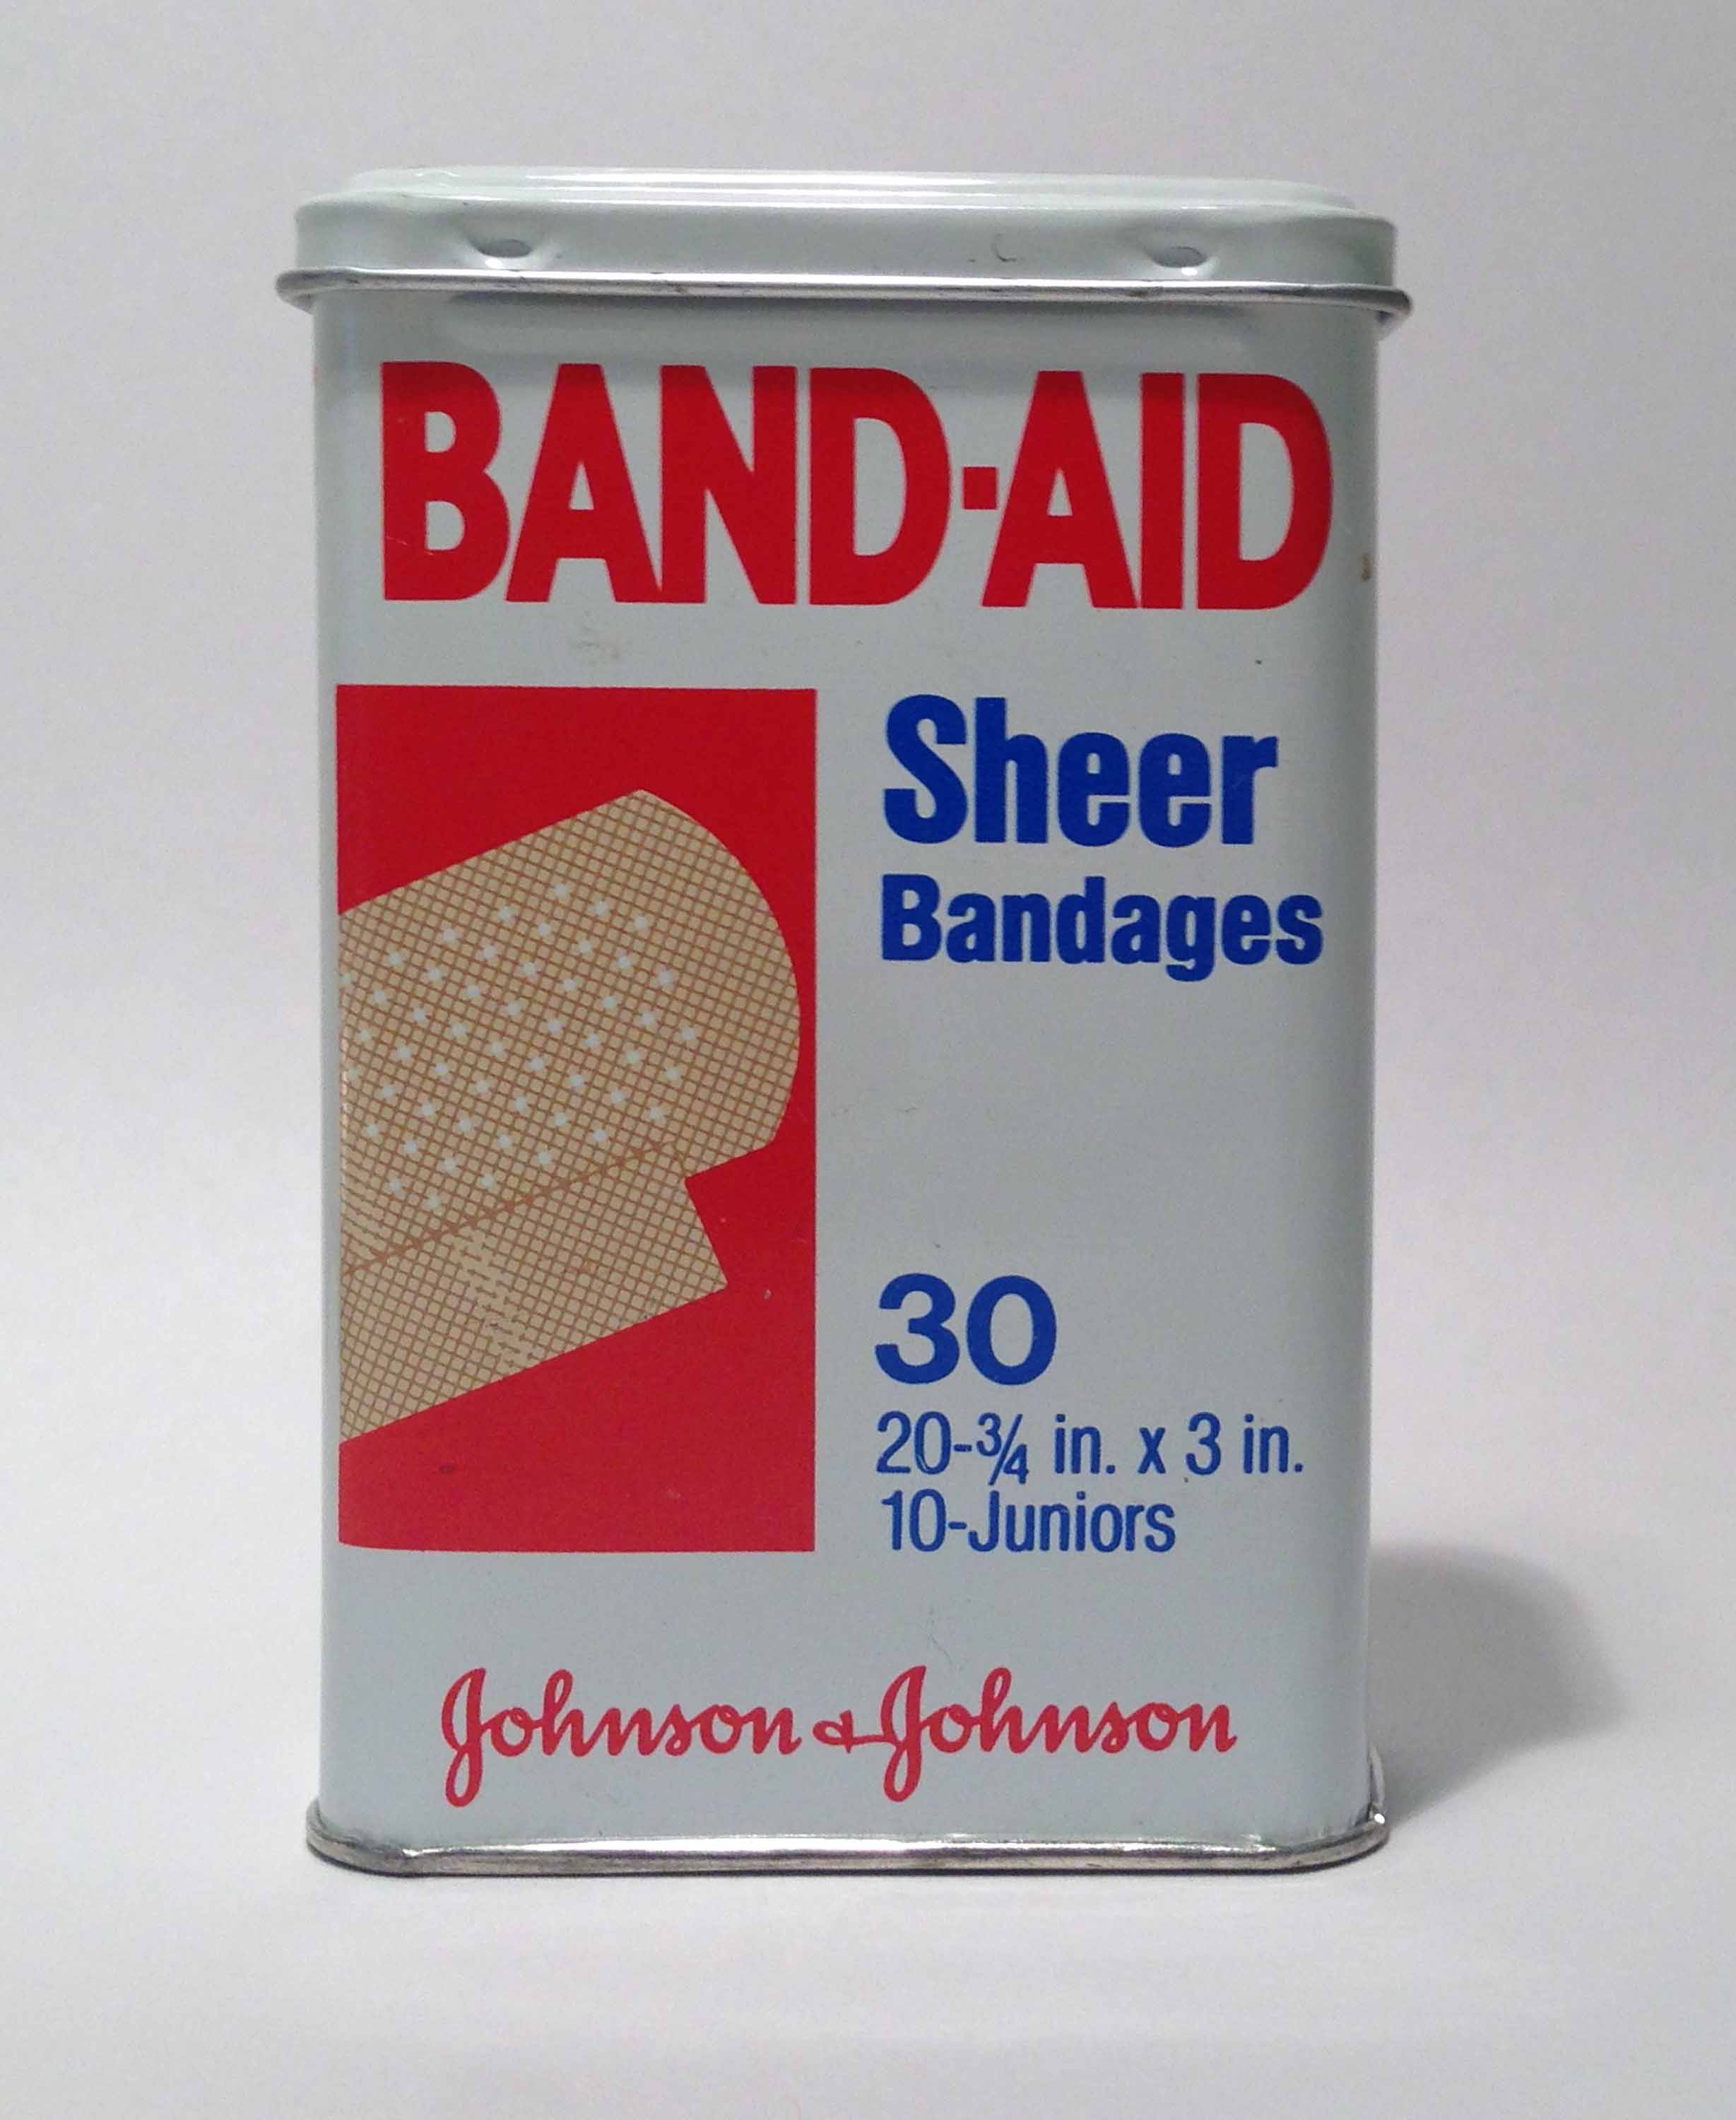
I get quite a few calls from churches that need me to come in and figure out what is going wrong with their sound system.  It is usually one of two issues: 

1. Operator Error - volunteers with no training; making poor decisions (like gain structure, making neat designs with graphic EQ controls, using the wrong cabling, etc). 

Kind of Like this:

Picture
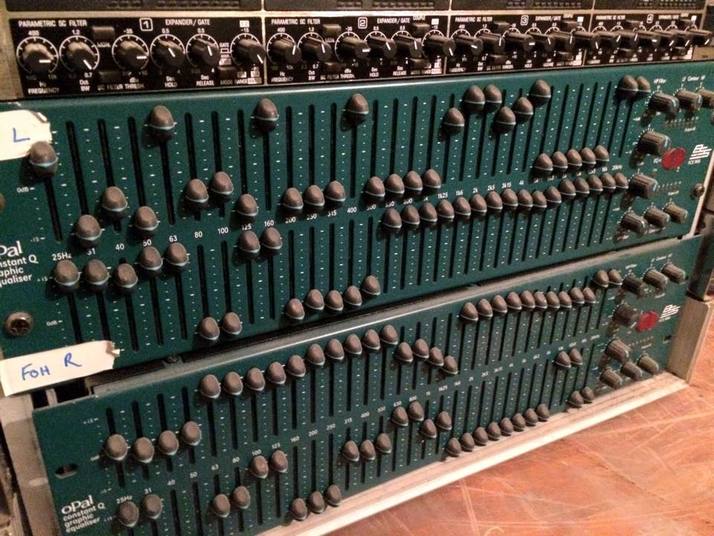
It would appear as if a 3 year old had some fun...

2. The Other Issue I Get a Call the Most About Are Band-Aids, Yup That's Right, Band-Aids -

What I am referring to, are quick "fixes."  A.K.A. Redneck Engineering.  This is usually caused by a well-meaning volunteer not having the right cable at the time of a need, or perhaps they were trying to fix something at the last minute, and they just "made it work."   There are times when every one of us will find ourselves in a pickle; where you just don't have what you need at the time.  The problem is when we are satisfied with just making it work, but not making it right later.  If you have to rig something up at the last minute, then fine, but go back and fix it as soon as you can.  This will save you a headache later. 
Other band-aids include homemade speaker rigging (which can kill someone), projector mounts (the most common diy hack I have seen), multiple adapters connected together for signal cable patching, the wrong type of cabling used (like speaker cables for signal cables and signal cables used for speaker cables), etc...

With that said, I now present to you, the wall of shame:

Picture
There, that'll do it!
Picture
Niiiice!
Picture
Wait, is that for a telephone line ?
Picture
Speakons, we don't need no stinkin speakons!
Picture
Wait, what? I Can't Even...
Picture
Pull Ties!!! Nooooo!
Picture
Not audio related, but this one made me laugh out loud
Picture
A hold down strap on a monitor. Yes! Ha Ha!
Picture
Notice the short patch cable going from one channel to another, and the multiple adapters...classic.
Picture
And again
Picture
Seems legit
Picture
Female XLR to 1/4" TRS is what is called for here
Picture
Please don't use these. This is not a safe way to hang anything!
Picture
Who needs a labeler ?
Picture
These here tow straps atta hold-r !
Picture
The directions called for a 2x4, I promise
Picture
Creative! Ha!
Picture
Naw man, it'll be aw-right
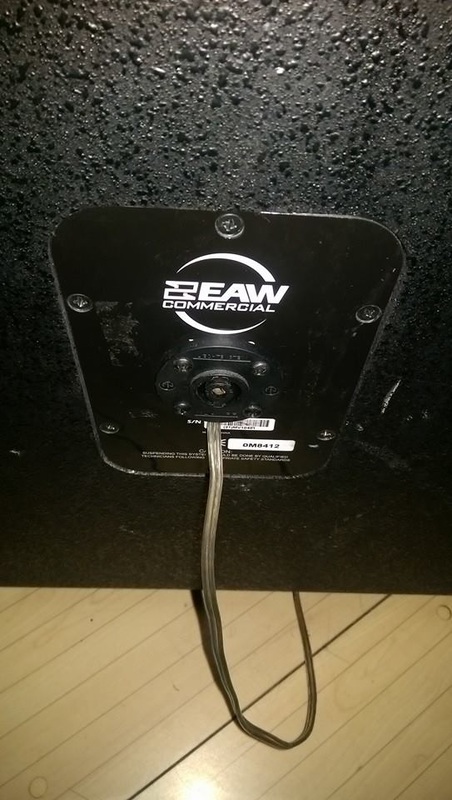
Photo Credits: The members of the AV Install Nightmares Facebook Group
So, what is the solution?  It's two fold.

A. The most important advice I can give first, is about rigging.  If you are not experienced and licensed at speaker rigging, don't do it!  That's a good way for someone to get killed.  I know of a church that did a DIY job on hanging speakers in the air, and a large speaker came down in the middle of a service, and killed an old lady by the stage.  Not a good day.

B. Learn how to solder if you don't know how to already.  Have some bulk microphone, speaker, and instrument cable available with a plethora of different types of connectors ready to go.  I would get at least 500 feet of microphone cable.  It'll go allot quicker than what you think.  My church keeps bulk cable available for use, and we went through almost 1000 ft. of it within 2 years. 


Here is a legit place that you can buy whatever you need:

http://www.parts-express.com/cat/audio-connectors/59

I would purchase at least 6 of the following connectors (Neutrik makes a great connector, and would be the best brand to get - yes switchcraft is good, but the cable clutch system that Neutrik connectors offer, is superior in my opinion):

XLR - Both male and female connectors
1/4" TRS Male - Yes, just male.  This will force you to make the right cable, and not just an extension!
1/4" TS Male
RCA Male
1/8" TRS
Speakons - If you bi-amp, you'll need the 4 pin, and if you run full-range, you'll need 2 pin

While you are at it, it's good to purchase some heatshrink.
Then, once you get the materials you need, I would print this chart.  It shows the wiring diagrams of different types of cables.  You match the 2 connectors shown in the chart for the number given, and then scroll down to the corresponding number's wiring diagram.  Super useful.

This page has some cool articles that might help as well!

0 Comments

Your comment will be posted after it is approved.


Leave a Reply.


    Do you like vintage recording gear and articles?  You should visit our sister site: The Vintage Audio Portal!


    **Advertise With Us! We have thousands of visitors a day. Contact us here to learn more.

    Archives

    August 2021
    December 2019
    August 2019
    December 2018
    November 2017
    August 2017
    July 2017
    June 2017
    May 2017
    March 2017
    February 2017
    December 2016
    November 2016
    September 2016
    August 2016
    July 2016
    June 2016
    May 2016
    March 2016
    February 2016
    January 2016
    December 2015
    November 2015
    October 2015
    September 2015
    August 2015
    July 2015
    June 2015
    May 2015
    April 2015
    March 2015
    February 2015
    January 2015
    December 2014
    November 2014


    Categories

    All


Powered by Create your own unique website with customizable templates.
  • Home
  • What's New
  • The Basics of Sound
    • The Nature of Sound
    • Acoustics
    • Microphones
    • Loudspeakers >
      • Loudspeakers - Continued
    • Amplification
    • Understanding Alternating Current
    • Circuit Values
    • Amplifier Arrangements
    • Transistors
    • Interstage Coupling
    • Noise
    • Distortion Effects
    • Using an Oscilloscope
    • Frequency Response
    • Power Amplification
    • Phase Splitting Circuits
    • Audio Transformers
    • Distortion
    • Shielding
    • Cabling
    • Electro-Acoustics
    • Audio & Hearing
  • Microphone Types
  • Mic Placement
  • Gain Structure
  • Demystifying The Mixing Console
  • Equalization
  • Compression
  • The Ins & outs
  • The Sub Bus
  • The Voicing Concept
  • Reverb
  • Good Habits
  • Psychoacoustics
  • Stage Isolation & Drum Booths
  • System Feedback
  • System Noise & Hum
  • Electronic Repair
  • Speakers
  • Tips & Tricks
  • Noise Gates
  • Mixing 101 & Beyond
  • DIY Projects
  • Digital Audio Basics
  • Stage Lighting
    • Lighting Basics
    • Brightness
    • Color
    • Controls
    • Smoke
  • Books
    • Yamaha Sound Reinforcement Handbook
    • Sound Recording & Production
    • The Art of Record Production
    • Recording & Production of Sound
    • BBC - Microphones
    • Microphones - 3rd Edition
    • How To Build A Small Studio
    • Acoustic Techniques for Home & Studio
  • The Blog
  • References Page