Sound Instruction
Home
What's New
The Basics of Sound
The Nature of Sound
Acoustics
Microphones
Loudspeakers
>
Loudspeakers - Continued
Amplification
Understanding Alternating Current
Circuit Values
Amplifier Arrangements
Transistors
Interstage Coupling
Noise
Distortion Effects
Using an Oscilloscope
Frequency Response
Power Amplification
Phase Splitting Circuits
Audio Transformers
Distortion
Shielding
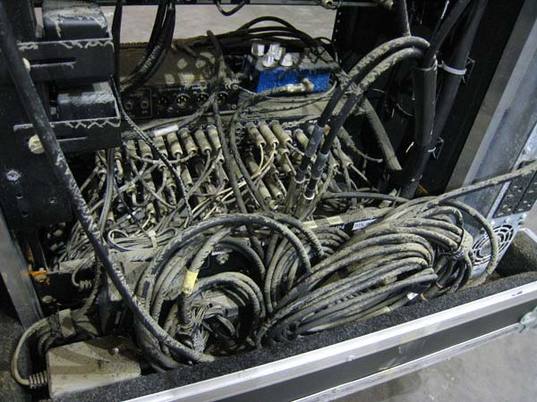
Cabling
Electro-Acoustics
Audio & Hearing
Microphone Types
Mic Placement
Gain Structure
Demystifying The Mixing Console
Equalization
Compression
The Ins & outs
The Sub Bus
The Voicing Concept
Reverb
Good Habits
Psychoacoustics
Stage Isolation & Drum Booths
System Feedback
System Noise & Hum
Electronic Repair
Speakers
Tips & Tricks
Noise Gates
Mixing 101 & Beyond
DIY Projects
Digital Audio Basics
Stage Lighting
Lighting Basics
Brightness
Color
Controls
Smoke
Books
Yamaha Sound Reinforcement Handbook
Sound Recording & Production
The Art of Record Production
Recording & Production of Sound
BBC - Microphones
Microphones - 3rd Edition
How To Build A Small Studio
Acoustic Techniques for Home & Studio
The Blog
References Page
Home
What's New
The Basics of Sound
The Nature of Sound
Acoustics
Microphones
Loudspeakers
>
Loudspeakers - Continued
Amplification
Understanding Alternating Current
Circuit Values
Amplifier Arrangements
Transistors
Interstage Coupling
Noise
Distortion Effects
Using an Oscilloscope
Frequency Response
Power Amplification
Phase Splitting Circuits
Audio Transformers
Distortion
Shielding
Cabling
Electro-Acoustics
Audio & Hearing
Microphone Types
Mic Placement
Gain Structure
Demystifying The Mixing Console
Equalization
Compression
The Ins & outs
The Sub Bus
The Voicing Concept
Reverb
Good Habits
Psychoacoustics
Stage Isolation & Drum Booths
System Feedback
System Noise & Hum
Electronic Repair
Speakers
Tips & Tricks
Noise Gates
Mixing 101 & Beyond
DIY Projects
Digital Audio Basics
Stage Lighting
Lighting Basics
Brightness
Color
Controls
Smoke
Books
Yamaha Sound Reinforcement Handbook
Sound Recording & Production
The Art of Record Production
Recording & Production of Sound
BBC - Microphones
Microphones - 3rd Edition
How To Build A Small Studio
Acoustic Techniques for Home & Studio
The Blog
References Page