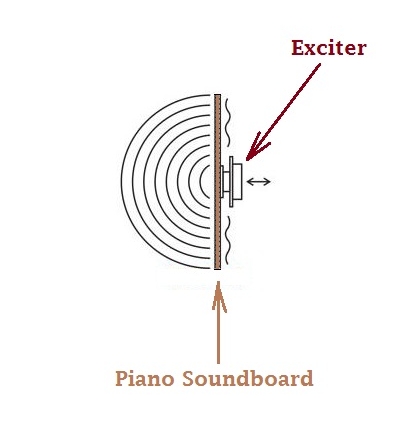
Sound Instruction
  • Home
  • What's New
  • The Basics of Sound
    • The Nature of Sound
    • Acoustics
    • Microphones
    • Loudspeakers >
      • Loudspeakers - Continued
    • Amplification
    • Understanding Alternating Current
    • Circuit Values
    • Amplifier Arrangements
    • Transistors
    • Interstage Coupling
    • Noise
    • Distortion Effects
    • Using an Oscilloscope
    • Frequency Response
    • Power Amplification
    • Phase Splitting Circuits
    • Audio Transformers
    • Distortion
    • Shielding
    • Cabling
    • Electro-Acoustics
    • Audio & Hearing
  • Microphone Types
  • Mic Placement
  • Gain Structure
  • Demystifying The Mixing Console
  • Equalization
  • Compression
  • The Ins & outs
  • The Sub Bus
  • The Voicing Concept
  • Reverb
  • Good Habits
  • Psychoacoustics
  • Stage Isolation & Drum Booths
  • System Feedback
  • System Noise & Hum
  • Electronic Repair
  • Speakers
  • Tips & Tricks
  • Noise Gates
  • Mixing 101 & Beyond
  • DIY Projects
  • Digital Audio Basics
  • Stage Lighting
    • Lighting Basics
    • Brightness
    • Color
    • Controls
    • Smoke
  • Books
    • Yamaha Sound Reinforcement Handbook
    • Sound Recording & Production
    • The Art of Record Production
    • Recording & Production of Sound
    • BBC - Microphones
    • Microphones - 3rd Edition
    • How To Build A Small Studio
    • Acoustic Techniques for Home & Studio
  • The Blog
  • References Page

COOL LIVE SOUND TRICKS - PART 3

11/8/2015

0 Comments


Piano Verb!  Weeee!

Picture
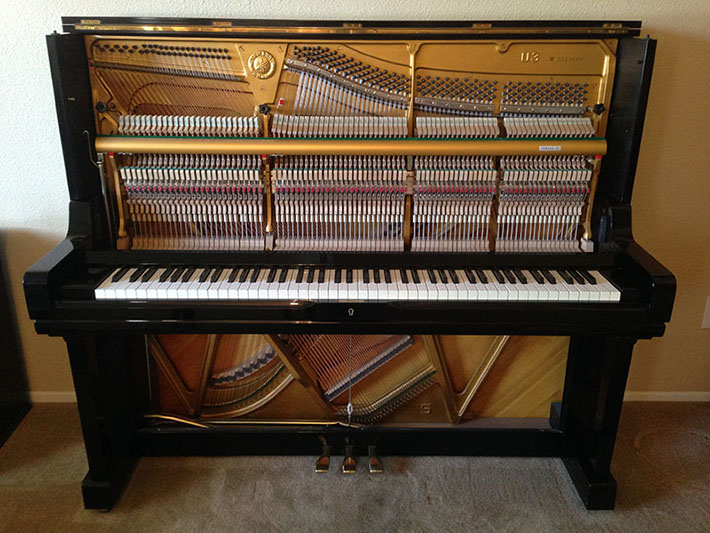
Oh Yes Indeedly!
Hiding in most churches, is one of the coolest analog reverb processors you can find.  It's called a piano.  That's right.  With just a little bit of hardware, you can add a very unique sounding reverb to your arsenal of effects when mixing.  
How Does It Work?
By sending audio to the piano with the sustain pedal pressed, the strings will sympathetically ring according to each note played via vibrational coupling from the track you send to it. This is accomplished by using a device called an exciter.  Say what?  
What Is An Exciter?
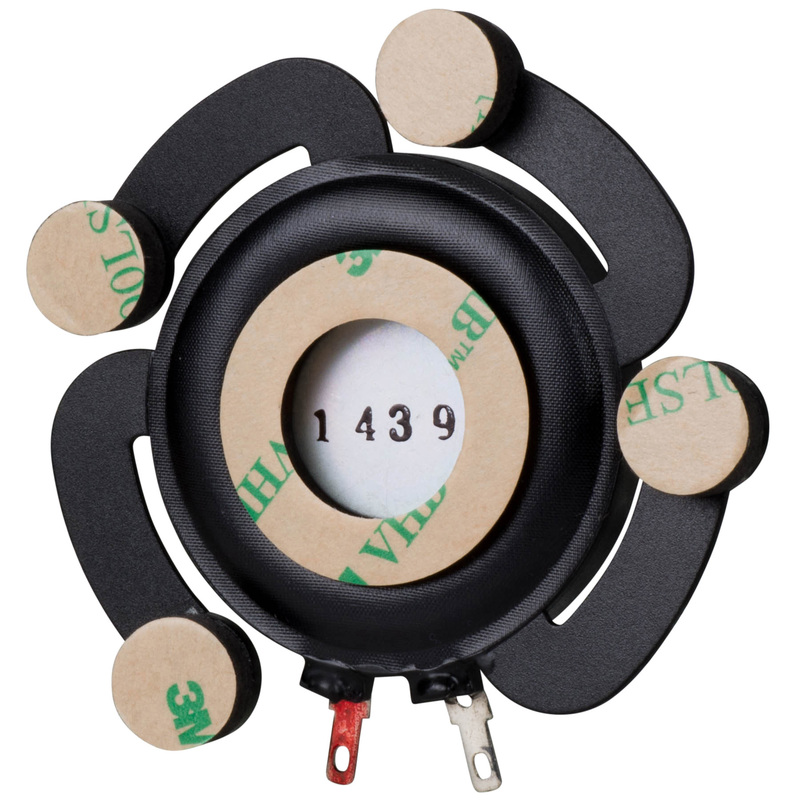
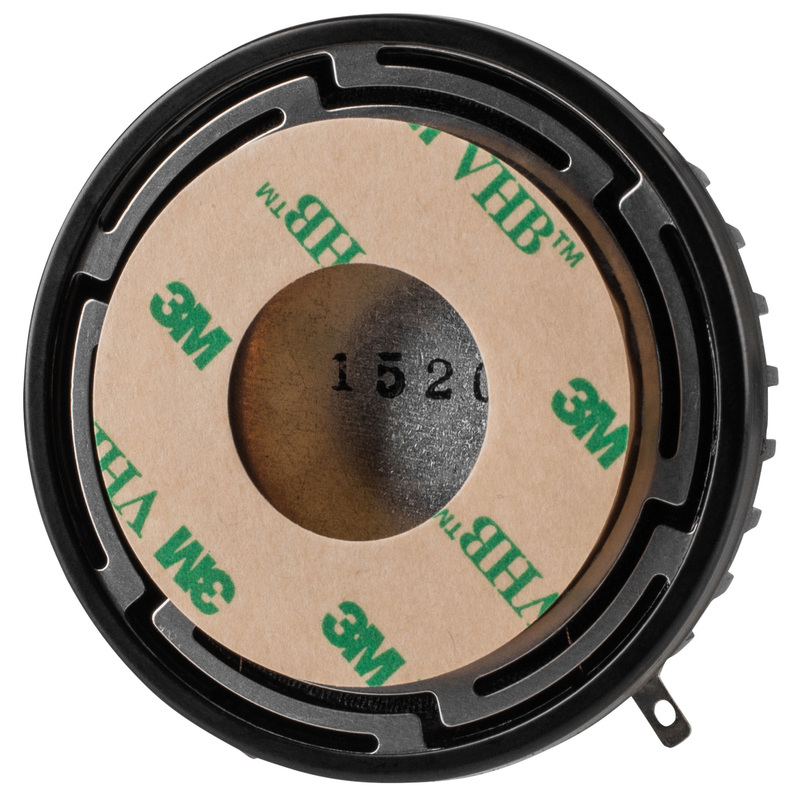
In layman's terms, an exciter is basically the motor of a speaker that is attachable to most surfaces.  When music is played through it, it turns that surface into a speaker.  It's hard to imagine that something like this could even work, but I assure you, they actually work really well!

Let's Get Started!
What You'll Need: 
  • Piano in an unused room
  • An exciter - 2 is ideal for better coverage (don't worry, they're usually cheap) but one will work ok if that's all you can afford.
  • A small amplifier - This can be anything 100 watts or lower - full range.
  • A condenser microphone(s)
  • Shielded signal cabling from your mixing console to the amp
  • Speaker cable from the amp to the exciter(s)
Picture
How it works in a nutshell


​How To Do It
  • Place the exciter(s) on the piano's soundboard or plate.
  • Place a brick, sand bag, or microphone base on the sustain pedal so that the strings are vibrating freely.
  • Run an open auxiliary out from your console to an amplifier that will power the exciters.
  • Place the microphone where it is mic'ing the piano where the reverb from the strings sounds the best.
  • Send the microphone cable(s) to an open channel (or channels panned if running stereo) on your mixing console & blend the resultant verb to taste.
Picture
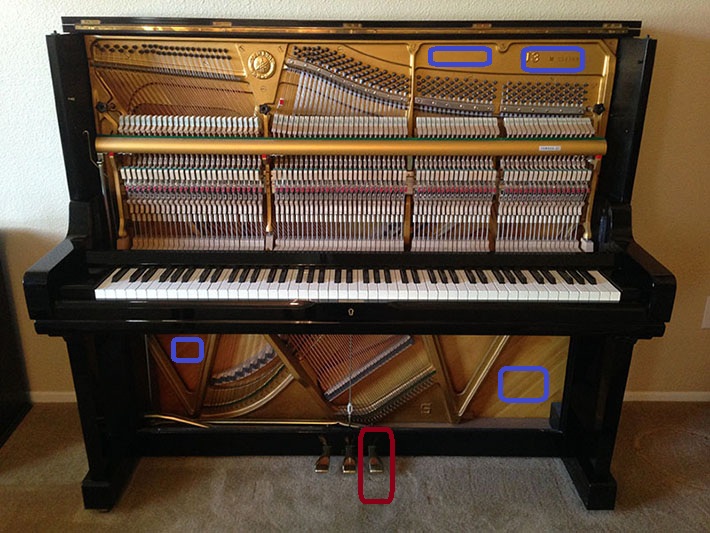
The rectangles in blue show you possible places where you can stick an exciter. You can also try placing the exciters on the back of an upright upright piano was well. Experimentation is the name of the game here. You'll want to place the exciters where the strings ring the most when music is played through them. Place a brick, or a heavy microphone base gently on the sustain pedal (marked in red) so that the strings will vibrate freely.


​Important Concepts 
  • Purchase higher wattage exciters (some come in very low wattage and typically won't work well for this purpose).  A 20 - 40 watt exciter usually will work well.  Dayton makes some pretty decent ones.
  • Use at least 2 exciters if you can - one on the bass side, and one on the treble side of the piano.
  • Run a microphone to where you are mic'ing the strings to catch the sympathetic ringing reverb they produce.  This type of reverb can actually be really pleasant sounding!
  • Using this type of reverb can bring a greater sense of realism to electronic piano sounds.
  • Avoid bass "shaker" type exciters.  They are not right for this application due to their limited frequency response.
  • If you don't want to use an exciter, an old method is to use a studio monitor, or something similar firing into the strings on the bottom of the piano sitting on the floor.  This is the old skool way, but exciters will work better, and will keep excess bleed from the microphone(s).  The exciter will physically vibrate the piano.
  • Please don't use a $100,000 Bosendorfer Grand Piano, or anything remotely similar unless you'd like to to be tortured with a cattle prod by the musical director.  The beauty is to find an old unused upright that is being neglected so that you can put it back to use!
  • A room that is not used during a set or service is most preferable so that there won't be any extraneous noises that makes their way into your new found verb. 

0 Comments

Your comment will be posted after it is approved.


Leave a Reply.


    Do you like vintage recording gear and articles?  You should visit our sister site: The Vintage Audio Portal!


    **Advertise With Us! We have thousands of visitors a day. Contact us here to learn more.

    Archives

    August 2021
    December 2019
    August 2019
    December 2018
    November 2017
    August 2017
    July 2017
    June 2017
    May 2017
    March 2017
    February 2017
    December 2016
    November 2016
    September 2016
    August 2016
    July 2016
    June 2016
    May 2016
    March 2016
    February 2016
    January 2016
    December 2015
    November 2015
    October 2015
    September 2015
    August 2015
    July 2015
    June 2015
    May 2015
    April 2015
    March 2015
    February 2015
    January 2015
    December 2014
    November 2014


    Categories

    All


Powered by Create your own unique website with customizable templates.
  • Home
  • What's New
  • The Basics of Sound
    • The Nature of Sound
    • Acoustics
    • Microphones
    • Loudspeakers >
      • Loudspeakers - Continued
    • Amplification
    • Understanding Alternating Current
    • Circuit Values
    • Amplifier Arrangements
    • Transistors
    • Interstage Coupling
    • Noise
    • Distortion Effects
    • Using an Oscilloscope
    • Frequency Response
    • Power Amplification
    • Phase Splitting Circuits
    • Audio Transformers
    • Distortion
    • Shielding
    • Cabling
    • Electro-Acoustics
    • Audio & Hearing
  • Microphone Types
  • Mic Placement
  • Gain Structure
  • Demystifying The Mixing Console
  • Equalization
  • Compression
  • The Ins & outs
  • The Sub Bus
  • The Voicing Concept
  • Reverb
  • Good Habits
  • Psychoacoustics
  • Stage Isolation & Drum Booths
  • System Feedback
  • System Noise & Hum
  • Electronic Repair
  • Speakers
  • Tips & Tricks
  • Noise Gates
  • Mixing 101 & Beyond
  • DIY Projects
  • Digital Audio Basics
  • Stage Lighting
    • Lighting Basics
    • Brightness
    • Color
    • Controls
    • Smoke
  • Books
    • Yamaha Sound Reinforcement Handbook
    • Sound Recording & Production
    • The Art of Record Production
    • Recording & Production of Sound
    • BBC - Microphones
    • Microphones - 3rd Edition
    • How To Build A Small Studio
    • Acoustic Techniques for Home & Studio
  • The Blog
  • References Page